Long-lasting Insulated Siding: A Homeowners Guide
Long-lasting insulated siding offers a smart, stylish, and energy-efficient upgrade for any home. This guide dives into the various materials, installation methods, maintenance needs, and cost-saving benefits of choosing insulated siding. We’ll explore different options, helping you make an informed decision for your home’s exterior.
From the initial material selection—considering vinyl, fiber cement, or engineered wood—to the final installation and long-term maintenance, we’ll cover everything you need to know. We’ll also delve into the significant energy savings and aesthetic enhancements this type of siding provides, making it a worthwhile investment for homeowners seeking both durability and curb appeal.


Material Composition and Properties of Long-lasting Insulated Siding
Choosing the right insulated siding can significantly impact a home’s energy efficiency, curb appeal, and longevity. Understanding the material composition and properties of different options is crucial for making an informed decision. This section will explore various materials, their thermal performance, manufacturing processes, durability, and lifespan.
Insulated Siding Materials
Long-lasting insulated siding is available in a variety of materials, each with its own set of advantages and disadvantages. Common choices include vinyl, fiber cement, engineered wood, and insulated vinyl siding. Vinyl siding is a popular choice due to its affordability and low maintenance. Fiber cement offers superior durability and fire resistance. Engineered wood siding provides a natural look, while insulated vinyl combines the benefits of both vinyl and insulation in a single panel.
Thermal Performance of Different Siding Materials
The thermal performance of insulated siding is a key factor in energy efficiency. This performance is typically measured by the R-value, which indicates the material’s resistance to heat flow. Higher R-values mean better insulation. Generally, fiber cement siding offers a lower R-value compared to insulated vinyl siding, which incorporates a foam core for enhanced insulation. Engineered wood siding’s R-value can vary depending on the specific product and its construction. Vinyl siding, without insulation, typically has a very low R-value. The effective R-value of the entire wall assembly, including sheathing and insulation, should be considered for a complete picture of thermal performance.
Manufacturing Processes of Insulated Siding Panels
The manufacturing process varies depending on the material. Vinyl siding is extruded from PVC compounds, often incorporating color pigments directly into the material. Fiber cement siding involves mixing cement, cellulose fibers, and other additives, followed by molding and curing. Engineered wood siding is typically made by layering wood veneers or fibers with adhesives and resins, often including treatments for moisture resistance. Insulated vinyl siding involves bonding a foam core (typically polyurethane or polyisocyanurate) to a vinyl outer layer, creating a single, integrated panel.
Durability and Lifespan of Insulated Siding
The durability and lifespan of insulated siding are influenced by both the material and the climate. Vinyl siding is known for its resistance to moisture and insects, generally lasting 20-40 years with minimal maintenance. Fiber cement siding is exceptionally durable and resistant to fire, rot, and insects, potentially lasting 50 years or more, although it is more susceptible to cracking under extreme temperature fluctuations. Engineered wood siding’s lifespan is dependent on the quality of the materials and the protective treatments applied, typically ranging from 20-30 years. In harsh climates with significant temperature swings and high humidity, regular maintenance is crucial for all siding types to extend their lifespan.
Comparison of Insulated Siding Options
| Material | Cost (per sq ft) | Maintenance | Lifespan (years) |
|---|---|---|---|
| Vinyl | $3-$8 | Low | 20-40 |
| Fiber Cement | $8-$15 | Moderate | 50+ |
| Engineered Wood | $6-$12 | Moderate | 20-30 |
| Insulated Vinyl | $6-$12 | Low | 25-40 |
Installation Methods and Techniques for Long-lasting Insulated Siding
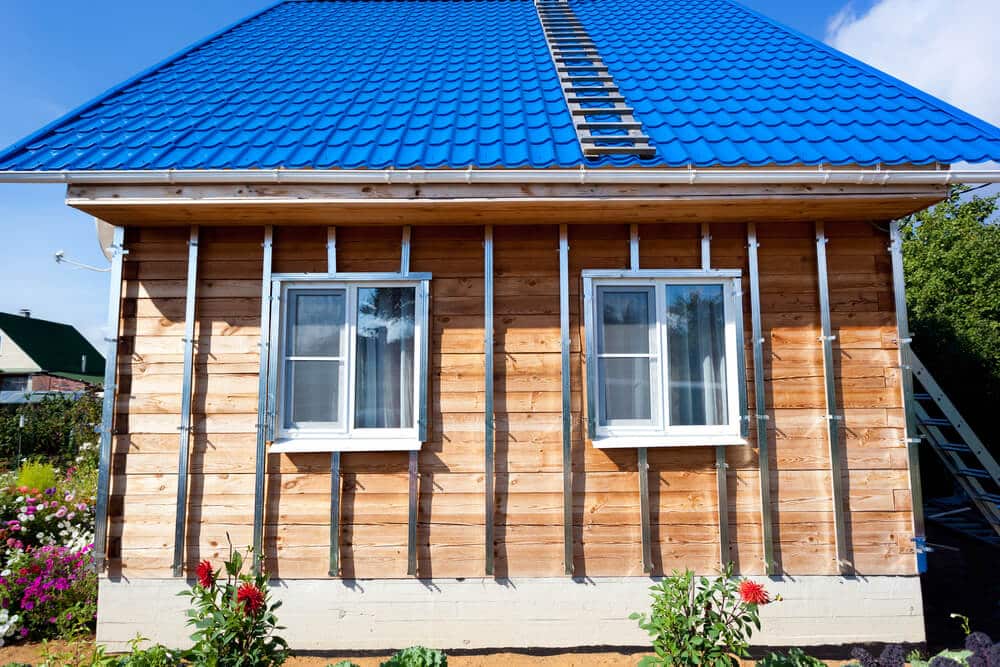
Installing long-lasting insulated siding is a multi-step process requiring careful preparation and execution to ensure a durable and aesthetically pleasing finish. Proper installation is crucial for maximizing the siding’s energy efficiency and longevity. This section details the process, highlighting best practices and potential challenges.
Wall Surface Preparation
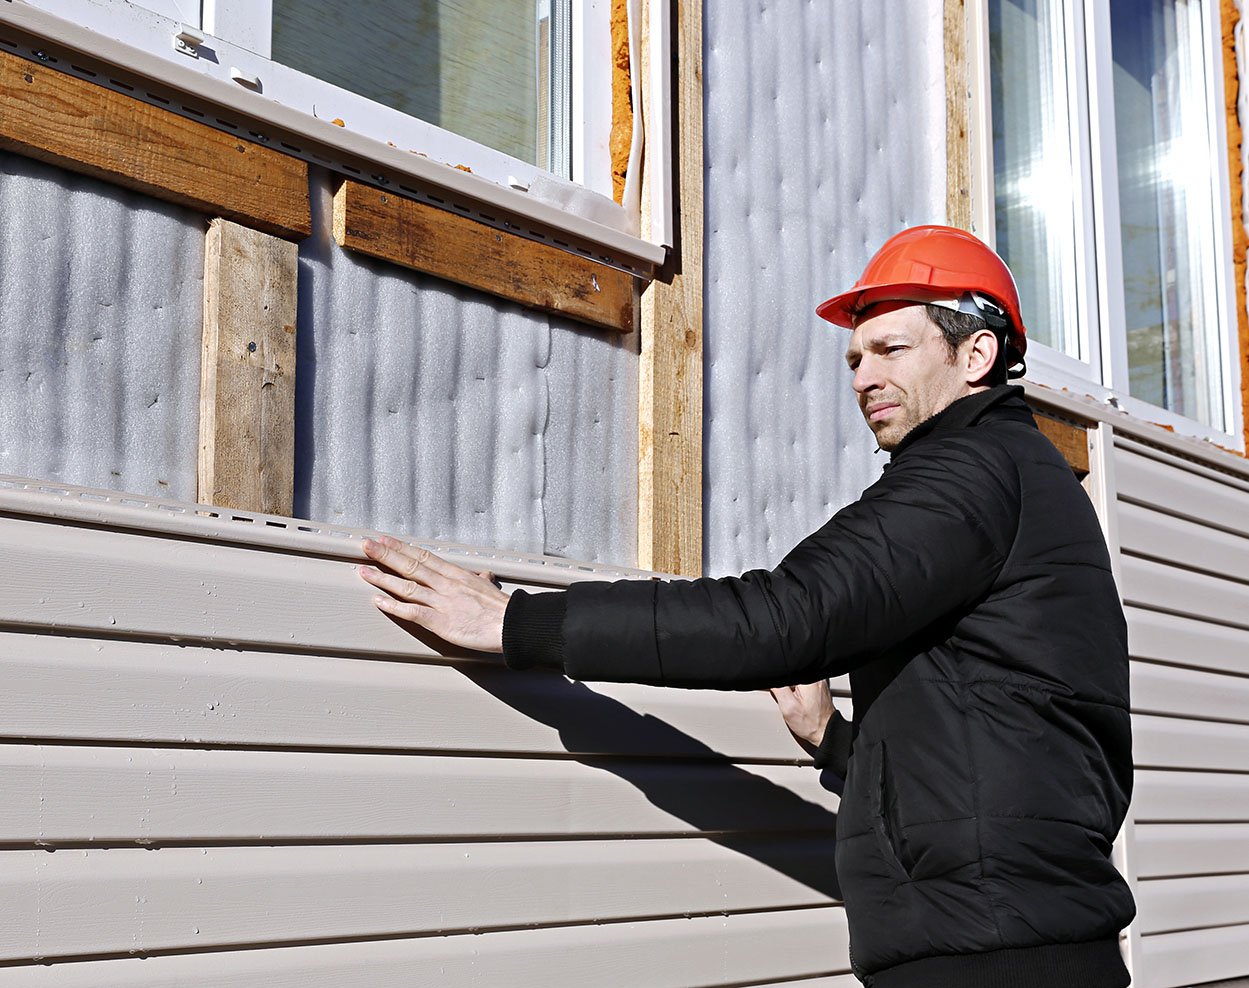
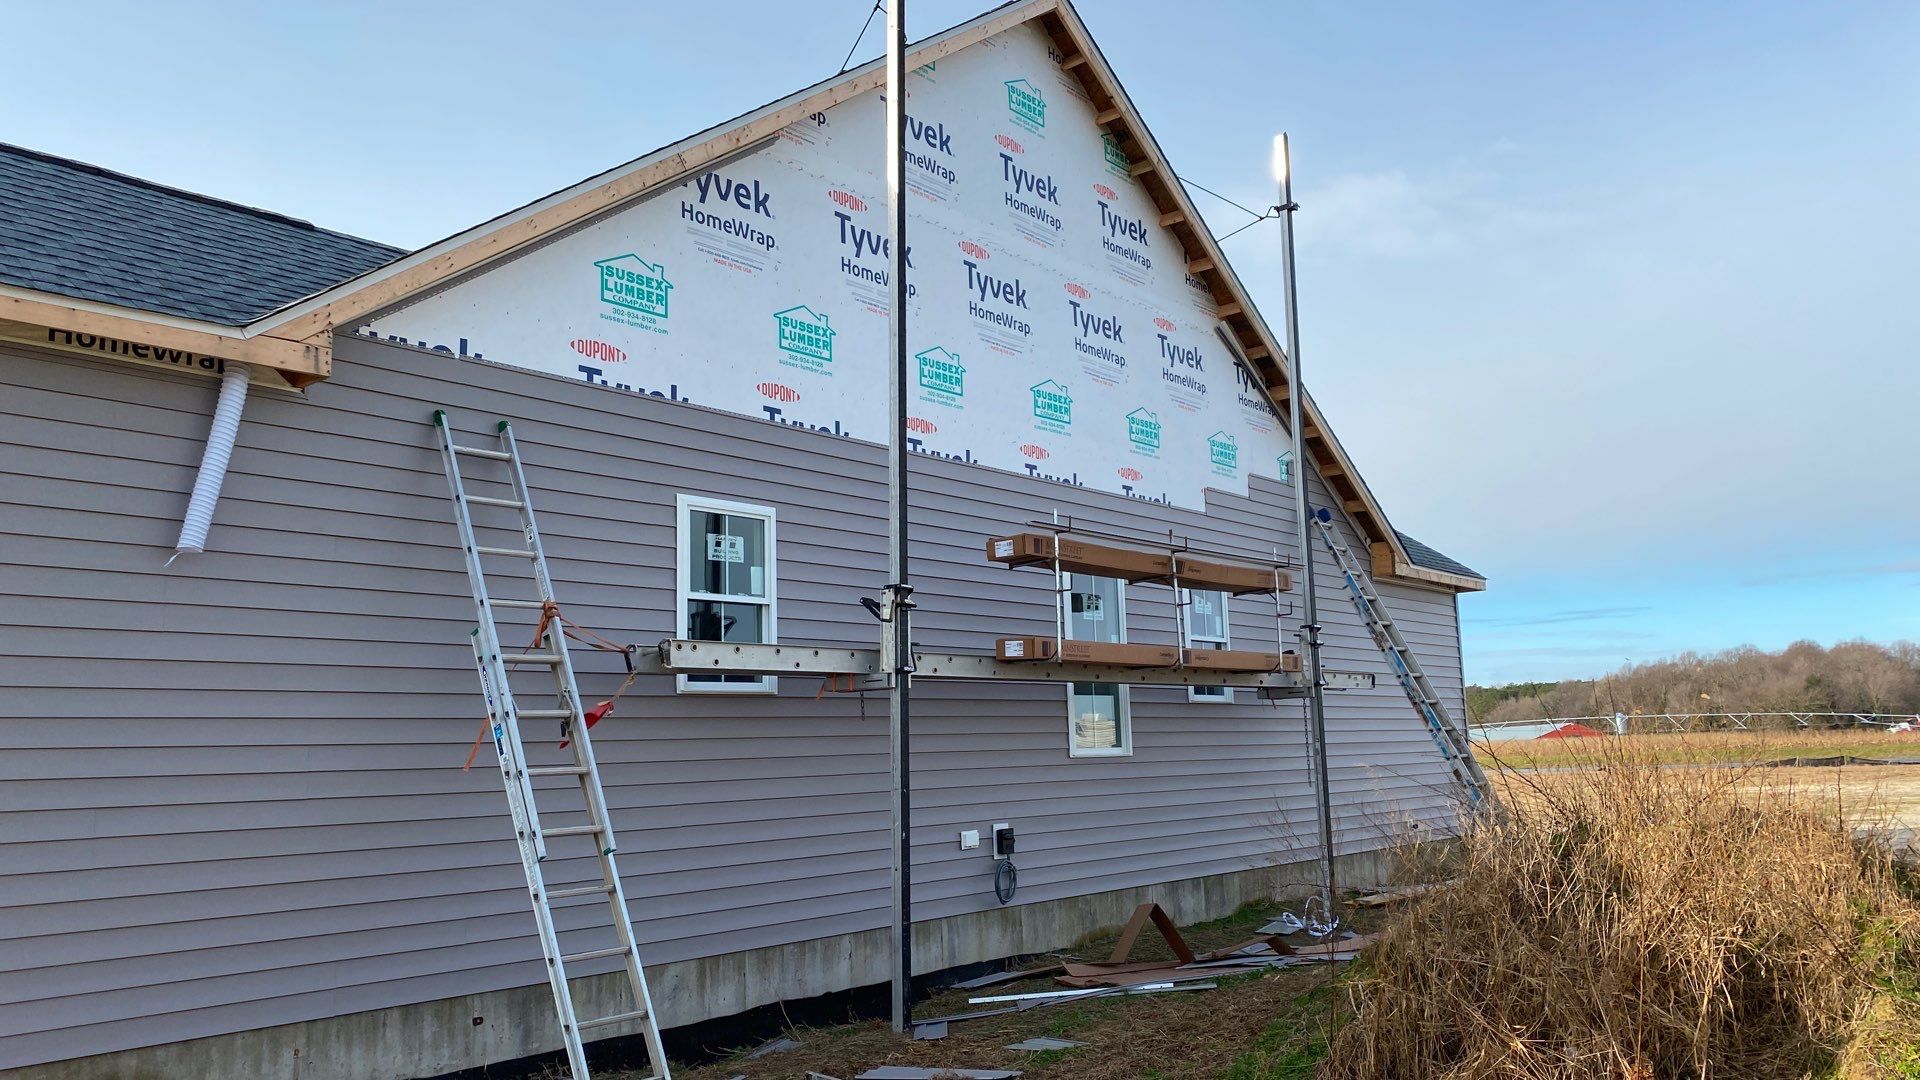
Before installation begins, thorough preparation of the wall surface is paramount. This involves cleaning the existing surface to remove dirt, debris, loose paint, and any other contaminants. Damaged areas of the underlying wall sheathing should be repaired and replaced as needed. This ensures a smooth, even surface for the siding to adhere to, preventing gaps and promoting a long-lasting installation. Moisture-resistant barrier membranes should be applied where appropriate to prevent water penetration behind the siding. Finally, any necessary flashing around windows and doors must be installed correctly to prevent water leakage.
Step-by-Step Installation Process
The installation process generally follows these steps: First, establish a level baseline using a chalk line to ensure the siding is installed straight and plumb. Next, install the starting pieces (usually J-channel or similar) at the corners and around windows and doors. Then, install the first course of insulated siding panels, ensuring proper alignment and fastening according to the manufacturer’s instructions. Subsequent courses are then installed, overlapping each previous course in a staggered pattern to create a weather-resistant barrier. Finally, install trim pieces and finishing details to complete the installation. Regularly check alignment and levelness throughout the process to prevent issues later on.
Comparison of Installation Methods
Several methods exist for attaching insulated siding: nailing, screwing, and adhesive. Nailing is a common method, offering speed and simplicity. However, it can lead to damage to the siding if not done carefully. Screwing offers more secure fastening and allows for easier adjustments, but requires more time and precision. Adhesive installation, often used in conjunction with other methods, provides additional security and can improve the seal against air and water infiltration. The choice of method often depends on the type of siding, the substrate, and the installer’s preference and experience.
Potential Installation Challenges and Solutions
Several challenges can arise during installation. Uneven wall surfaces can lead to gaps and misalignment. Using shims and carefully measuring each panel can help address this. Difficult-to-reach areas may require specialized tools and techniques. Pre-cutting panels and using extension tools can improve efficiency and precision. Working in extreme weather conditions can affect adhesive performance and material expansion/contraction. Scheduling installation for moderate weather is highly recommended. Improper fastening can lead to loose panels and water damage. Following manufacturer’s instructions regarding fastener placement and type is essential.
Essential Tools and Equipment
Proper tools are crucial for a successful installation. A comprehensive list includes:
- Measuring tape
- Level
- Chalk line
- Drill with various drill bits
- Impact driver
- Nail gun (for nailing methods)
- Safety glasses
- Work gloves
- Utility knife
- Caulk gun
- Scissors or tin snips
- Shims
- Ladder
Maintenance and Repair of Long-lasting Insulated Siding
Proper maintenance is crucial for extending the lifespan and preserving the aesthetic appeal of your long-lasting insulated siding. Regular cleaning and prompt attention to minor issues can prevent costly repairs down the line. Different siding materials require slightly different maintenance routines, but the general principles remain consistent.
Maintenance Schedules for Various Insulated Siding Types
A regular maintenance schedule helps prevent problems and keeps your siding looking its best. The frequency of maintenance depends on the climate, the type of siding, and the level of exposure to environmental factors. For example, siding in a coastal area will require more frequent cleaning due to salt spray.
- Vinyl Siding: Inspect annually for cracks, dents, or loose pieces. Clean at least twice a year with a mild detergent and water solution. Consider power washing every 2-3 years, using a low-pressure setting to avoid damage.
- Fiber Cement Siding: This material is quite durable, but annual inspections are still recommended. Clean with a mild detergent and water solution, or a power washer (low pressure) as needed. Repainting might be necessary every 5-10 years, depending on sun exposure and paint quality.
- Aluminum Siding: Aluminum siding is resistant to many types of damage. Annual inspections are sufficient. Cleaning can be done with soap and water, or a power washer (low pressure). Repairing dents or scratches may require specialized paint.
- Engineered Wood Siding: This type requires more frequent maintenance. Inspect every six months for signs of moisture damage. Clean regularly with a soft brush and mild detergent. Repainting or staining may be needed more frequently than other types, depending on the product and climate.
Cleaning and Environmental Protection
Regular cleaning removes dirt, grime, mildew, and other debris that can degrade siding over time. Different cleaning methods are appropriate for different siding materials.
- Cleaning Methods: Generally, a mixture of mild detergent and water applied with a soft brush or sponge is sufficient. For tougher stains, a power washer with a low-pressure nozzle can be used, but always test it on an inconspicuous area first. Avoid harsh chemicals that could damage the siding.
- Environmental Protection: Protecting your siding from harsh weather conditions is essential. Regularly inspect and repair caulking around windows and doors to prevent water intrusion. Consider installing gutters and downspouts to divert water away from the foundation and siding. Trim overhanging branches to reduce the risk of damage from falling debris.
Common Damage and Repair Techniques
Several types of damage can occur to insulated siding. Knowing how to identify and repair this damage can save you money and extend the life of your siding.
- Cracks and Dents: Small cracks in vinyl siding can often be repaired with vinyl patch kits. Dents in aluminum siding might be repairable with a specialized filler and paint. More significant damage may require replacing the affected panel.
- Moisture Damage: Water intrusion can lead to rot, mold, and mildew. Repair any leaks promptly, addressing the source of the water damage (e.g., faulty caulking, damaged flashing). Affected areas may need to be replaced.
- Loose or Damaged Panels: Loose panels should be reattached using appropriate fasteners. Damaged panels that cannot be repaired should be replaced. Ensure that new panels are properly aligned and secured.
Sealants and Caulking for Water Prevention
Proper sealing is crucial for preventing water damage. Regularly inspect and replace caulking around windows, doors, and other areas where the siding meets other building materials. Use high-quality, weather-resistant caulking designed for exterior use. Apply the sealant smoothly and ensure a complete seal to prevent water from seeping behind the siding. Consider using different caulking for different situations; for example, some caulks are better suited for high-movement areas like corners.
Identifying and Addressing Minor Issues
Regular inspections are the key to preventing small problems from becoming major repairs. Pay attention to details such as:
- Changes in Color or Texture: These can indicate moisture damage or fading.
- Loose or Damaged Fasteners: These should be tightened or replaced immediately.
- Cracks or Gaps in Caulking: Repairing these prevents water intrusion.
- Accumulation of Debris: Regular cleaning prevents build-up that can damage the siding.
Energy Efficiency and Cost Savings with Long-lasting Insulated Siding
Insulated siding offers a significant upgrade over traditional siding options, leading to substantial energy savings and a considerable return on investment over the long term. This improvement stems from the siding’s inherent ability to act as a thermal barrier, reducing heat transfer between the interior and exterior of your home. This translates to lower energy bills and a more comfortable living environment year-round.
By reducing heat transfer, insulated siding minimizes the work your heating and cooling systems need to do to maintain a comfortable indoor temperature. This reduction in energy consumption directly impacts your utility bills, potentially saving you hundreds or even thousands of dollars annually, depending on factors such as climate, home size, and the type of insulated siding installed.
Potential Energy Savings with Insulated Siding
The amount of energy saved with insulated siding varies depending on several factors including climate, home size, existing insulation levels, and the R-value of the siding itself. However, studies and real-world examples consistently demonstrate substantial savings. For instance, a homeowner in a colder climate might see a 15-20% reduction in heating costs, while a homeowner in a warmer climate might see a similar reduction in cooling costs. These savings can accumulate quickly, leading to significant long-term cost benefits. A typical home in a moderate climate might save $300-$500 annually on energy bills with the installation of high-quality insulated siding.
Long-Term Cost Savings Compared to Traditional Siding
While the initial investment in insulated siding is generally higher than traditional siding, the long-term cost savings significantly outweigh the upfront expense. The energy savings alone can quickly offset the difference in initial cost, and the increased lifespan of insulated siding further enhances its value proposition. Traditional siding may require more frequent repainting or replacement, adding to its overall lifetime cost. Insulated siding, with its enhanced durability and protection against the elements, typically requires less maintenance and lasts longer, reducing long-term expenses.
Cost-Benefit Analysis of Insulated Siding
A cost-benefit analysis helps quantify the return on investment (ROI) for insulated siding. This analysis would consider the following:
* Initial Cost: The price of purchasing and installing the insulated siding.
* Energy Savings: The annual reduction in heating and cooling costs.
* Maintenance Costs: The reduced maintenance needs compared to traditional siding.
* Lifespan: The longer lifespan of insulated siding, reducing the need for premature replacement.
A simplified example: Assume an initial cost of $15,000 for insulated siding versus $8,000 for traditional siding. If the annual energy savings are $500 and the insulated siding lasts 30 years compared to 15 years for traditional siding (requiring a second $8,000 investment for the traditional siding), the insulated siding would show a clear long-term financial advantage. The total cost of the traditional siding over 30 years would be $16,000, while the insulated siding would cost $15,000 plus potentially some minor maintenance costs over that period.
Energy Efficiency Ratings and Cost Comparison of Insulated Siding Types
The following table provides a comparison of different insulated siding types, showing their respective energy efficiency ratings (R-value) and approximate cost ranges. Note that actual costs can vary based on location, installer, and specific product features.
| Siding Type | R-Value | Approximate Cost per Square Foot | Estimated Lifespan (Years) |
|---|---|---|---|
| Fiber Cement with Foam Insulation | 4-7 | $6-$12 | 30-50 |
| Vinyl with Foam Insulation | 3-5 | $4-$8 | 20-30 |
| Insulated Metal Siding | 2-4 | $5-$10 | 30-40 |
| Polyurethane Foam Siding | 6-8 | $8-$15 | 25-40 |
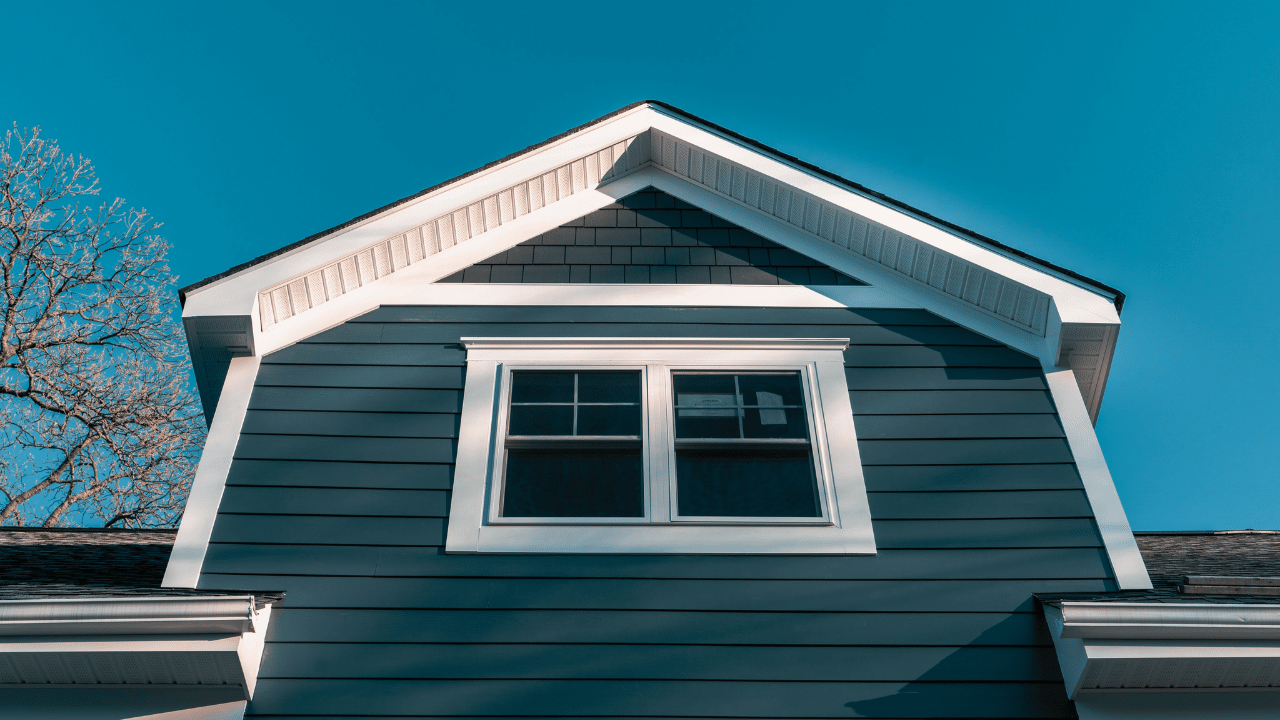
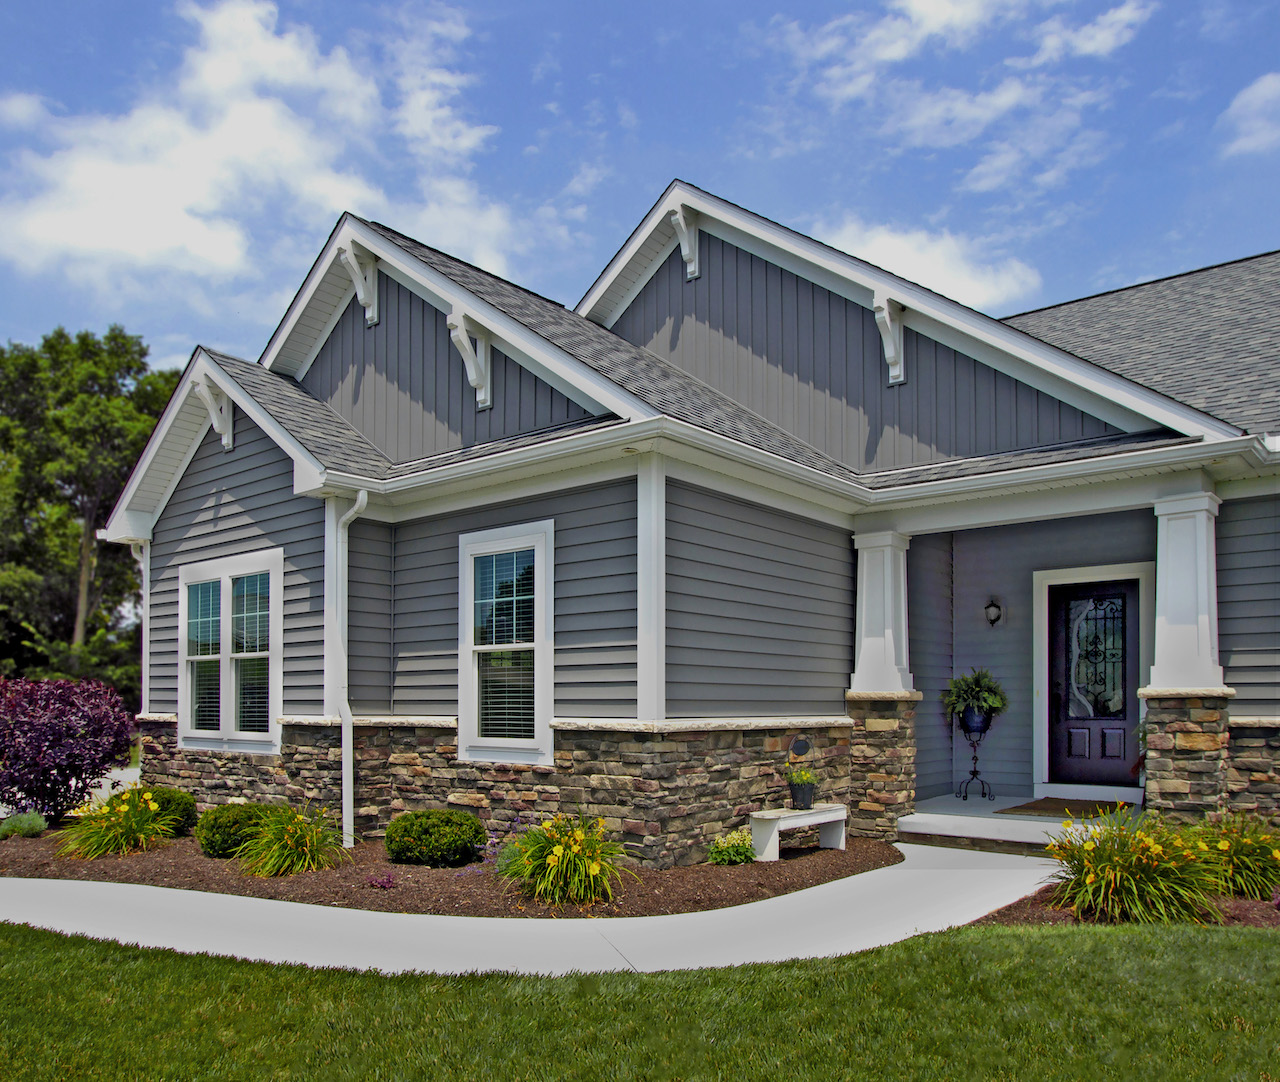
Aesthetic Considerations and Design Options for Long-lasting Insulated Siding
Long-lasting insulated siding offers a remarkable blend of durability and aesthetic appeal, allowing homeowners to enhance their curb appeal while enjoying superior energy efficiency. The wide variety of colors, textures, and styles available ensures that there’s a perfect option to complement any architectural style and personal preference.
Color and Texture Options
The range of colors available in long-lasting insulated siding is extensive, encompassing a spectrum from classic neutrals to bold, vibrant hues. Many manufacturers offer a wide array of standard colors, and custom color matching is often an option. Textures also play a significant role in the overall aesthetic. Options range from smooth, sleek finishes to those that mimic the look of natural wood, stone, or stucco, offering a diverse range of visual effects to suit various design tastes. For example, a smooth, light gray siding might create a modern, minimalist look, while a textured, deep brown siding could evoke a rustic, traditional feel.
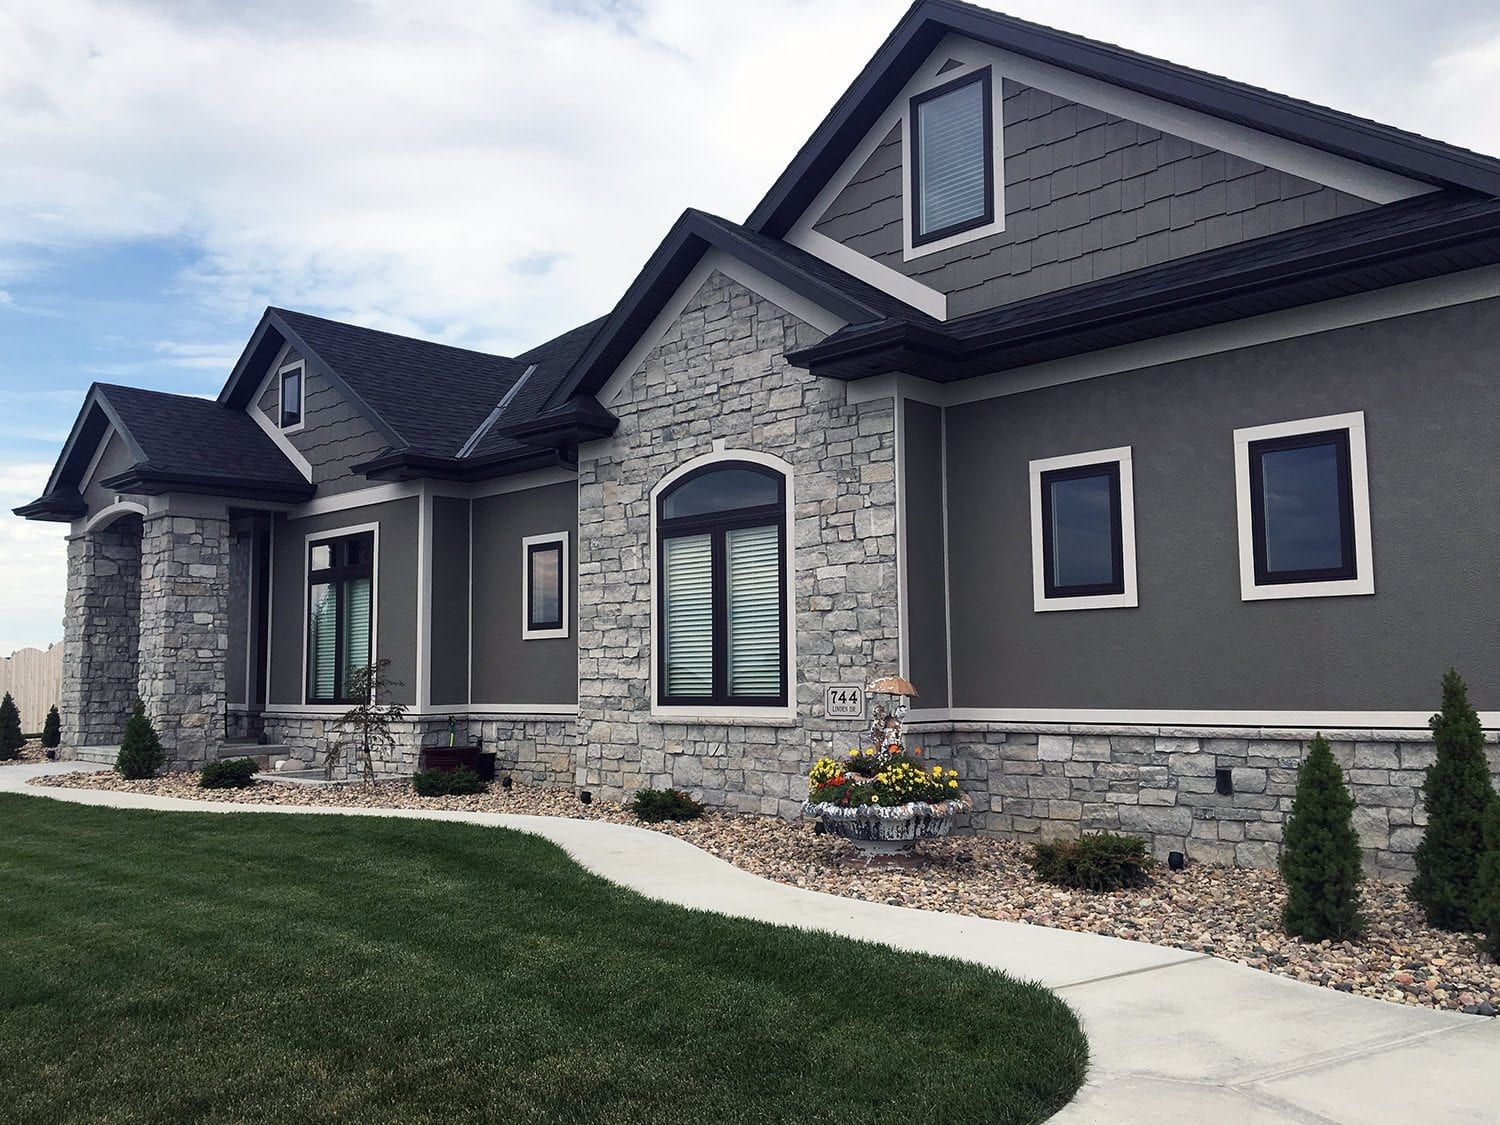
Siding and Architectural Styles
The choice of siding should harmoniously complement the home’s architectural style. For instance, a traditional colonial home might be beautifully enhanced with clapboard-style siding in a muted, earthy tone. A contemporary home, on the other hand, might benefit from sleek, horizontal panels in a clean, modern color like white or charcoal gray. Modern farmhouse styles often utilize a mix of materials, with insulated siding playing a role in the mix of wood accents and clean lines. The key is to select a siding that enhances the existing architectural features and creates a cohesive overall look.
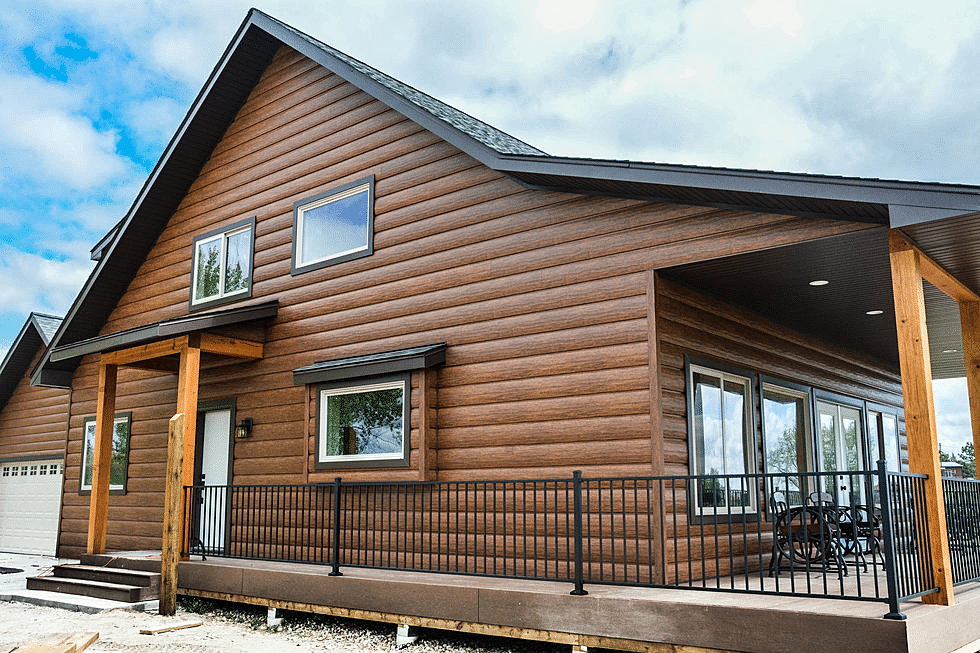
Creative and Innovative Uses of Insulated Siding
Insulated siding isn’t limited to traditional applications. It can be used creatively to add visual interest and architectural detail. For example, vertical siding can create a dramatic effect on a home’s facade, while strategically placed contrasting colors or textures can highlight specific architectural features. Varying the width of the siding panels can also add visual texture and depth. Consider using insulated siding in conjunction with other materials like stone or brick to create a layered and dynamic exterior. Using different profiles of siding (e.g., shake, board and batten) can also add interest and depth.
Examples of House Facades
House 1: Modern Farmhouse This home features a combination of creamy white insulated vinyl siding with dark brown board and batten accents around the windows and entryway. The texture is a smooth, slightly embossed vinyl, mimicking the look of painted wood. The overall aesthetic is clean, inviting, and subtly rustic.
House 2: Craftsman Bungalow This bungalow showcases rich, deep brown insulated fiber cement siding with a slightly textured surface that resembles natural wood grain. The deep brown is complemented by dark brown trim, creating a cohesive and warm aesthetic that evokes a sense of handcrafted quality and traditional charm. Large windows are framed by the siding, allowing natural light to flood the interior while highlighting the Craftsman architectural details.
House 3: Contemporary Minimalist This modern home boasts a sleek, contemporary look achieved with smooth, charcoal gray insulated metal siding. The siding’s clean lines and matte finish create a minimalist aesthetic, emphasizing the home’s geometric forms and clean architectural lines. Large expanses of glass are strategically placed to contrast with the dark siding, allowing natural light to illuminate the interior.
Outcome Summary
Investing in long-lasting insulated siding is a decision that pays dividends in energy efficiency, reduced maintenance, and increased home value. By understanding the different material options, installation processes, and long-term care, you can confidently choose a siding solution that perfectly complements your home’s style and budget while providing years of worry-free performance. Ultimately, the right insulated siding not only protects your home but enhances its beauty and value.