How to Maintain Insulated Siding
How to maintain insulated siding is key to extending its lifespan and protecting your home. This guide explores the various types of insulated siding, from vinyl to fiber cement, detailing their unique properties and maintenance needs. We’ll cover everything from regular cleaning and inspection to addressing minor repairs and preventing moisture damage, ensuring your siding stays looking its best for years to come.
Understanding the specific materials used in your siding is crucial for effective maintenance. Different materials require different cleaning methods and repair techniques. By following the steps outlined in this guide, you can prevent costly repairs and maintain the curb appeal and energy efficiency of your home.


Understanding Insulated Siding Materials
Choosing the right insulated siding material is crucial for your home’s energy efficiency and longevity. Several options exist, each with its own set of advantages and disadvantages regarding cost, maintenance, and lifespan. Understanding these differences will help you make an informed decision.
Insulated Siding Material Comparison
The following table summarizes the key characteristics of common insulated siding materials. Remember that specific product performance can vary based on manufacturer and installation quality.
| Material | Pros | Cons | Maintenance Requirements |
|---|---|---|---|
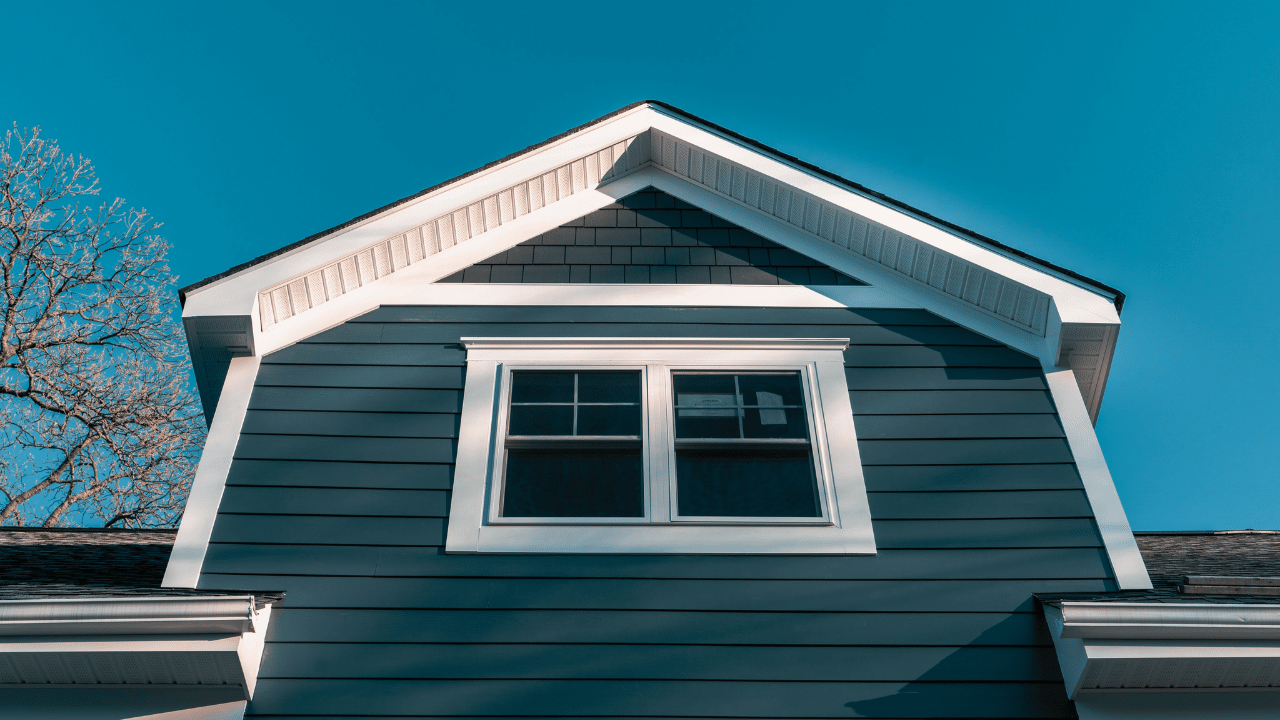
| Vinyl | Affordable, low maintenance, variety of colors and styles, easy installation | Can fade or become brittle in extreme temperatures, susceptible to dents and scratches, less durable than other options | Regular cleaning with soap and water; occasional repair of minor damage. |
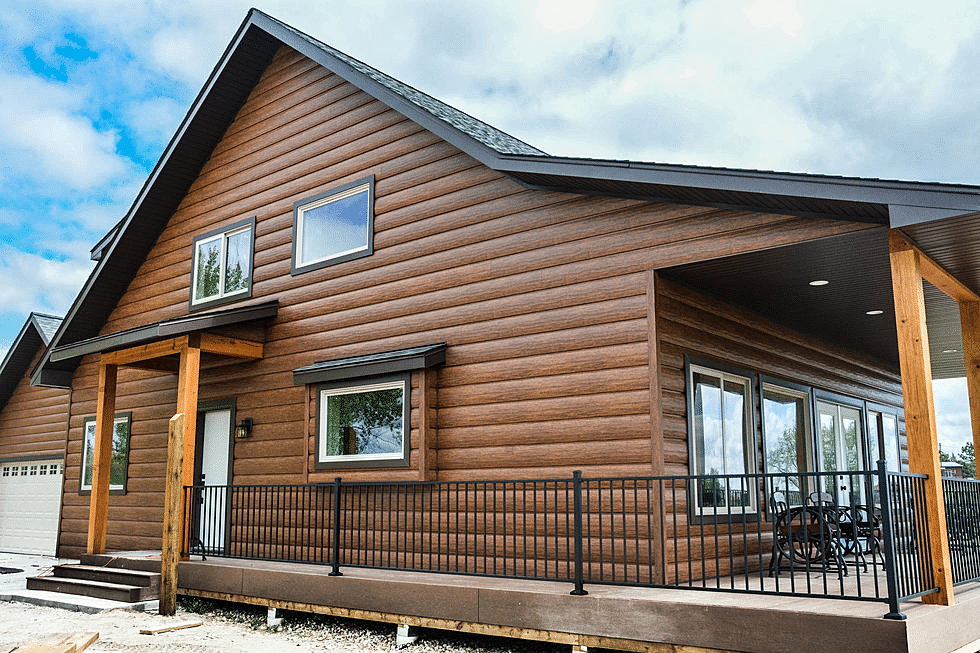
| Fiber Cement | Durable, fire-resistant, resists insects and rot, low maintenance, realistic wood-like appearance | More expensive than vinyl, heavier and more difficult to install, can crack if not properly installed | Periodic cleaning with a pressure washer; repair of chips or cracks as needed. |
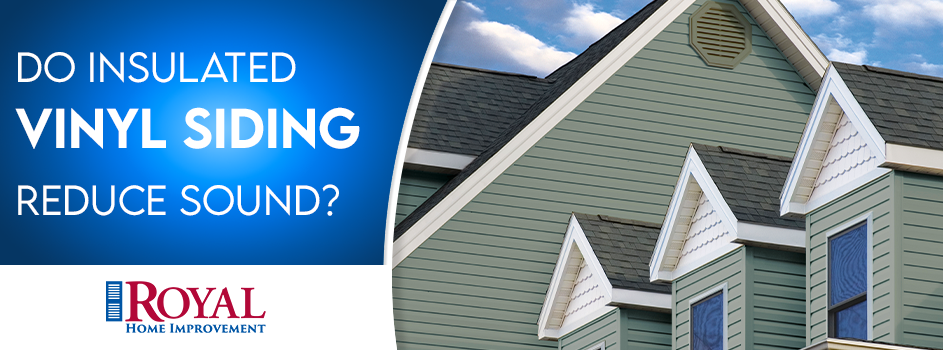
| Foam-Backed Siding (e.g., Polyisocyanurate or Polyurethane) | Excellent insulation value, lightweight, relatively easy to install, can be used with various facing materials (vinyl, aluminum, etc.) | Can be damaged by impact, susceptible to moisture damage if not properly installed and sealed, may not be as aesthetically pleasing as other options. | Regular inspection for damage; repair or replacement of damaged sections; careful cleaning to avoid damage to the foam backing. |
Composition and Insulation Properties
Vinyl siding is primarily composed of polyvinyl chloride (PVC), a plastic polymer. Its insulation properties are relatively modest compared to other options, relying mostly on the air gap created by the installation. Fiber cement siding is a composite material made from Portland cement, cellulose fibers, and other additives. Its insulation value comes primarily from its mass and density. Foam-backed siding uses rigid foam insulation boards (often polyisocyanurate or polyurethane) as a backing for a facing material like vinyl or aluminum. The foam provides significantly better insulation than the other options listed.
Lifespan and Durability
Vinyl siding typically lasts 20-30 years, while fiber cement siding can last 50 years or more with proper maintenance. Foam-backed siding’s lifespan depends heavily on the quality of the foam and the facing material, but it generally falls within the range of 20-40 years. The durability of each material varies. Vinyl is susceptible to impact damage, while fiber cement is more resistant but can crack under stress. Foam-backed siding’s durability depends on the strength of the facing material and its resistance to moisture penetration.
Regular Cleaning and Inspection
Keeping your insulated siding clean and regularly inspecting it for damage are crucial for maintaining its longevity and effectiveness. Neglecting these steps can lead to costly repairs down the line, so a proactive approach is best. This section details the best practices for both cleaning and inspection.
Cleaning Insulated Siding
Regular cleaning removes dirt, grime, and pollutants that can degrade the siding’s surface and compromise its insulating properties. A simple cleaning routine can significantly extend the life of your siding. The frequency of cleaning depends on your climate and environment; areas with heavy pollen or industrial pollution may require more frequent cleaning.
- Prepare the area: Clear the area around your home of any debris, furniture, or plants that could be damaged by cleaning solutions or water. Protect landscaping with tarps or plastic sheeting.
- Choose your cleaning solution: For most cases, a mixture of mild dish soap and water is sufficient. For stubborn stains, consider using a pressure washer with a low-pressure setting (avoid high pressure, which can damage the siding). Always test any cleaning solution on an inconspicuous area first to ensure it doesn’t damage the siding’s finish.
- Apply the solution: Use a soft-bristled brush, sponge, or a garden sprayer to apply the cleaning solution evenly to the siding. Work from top to bottom to allow the solution to run down and carry away dirt.
- Rinse thoroughly: Once the siding is clean, rinse it thoroughly with a garden hose or pressure washer (again, use a low-pressure setting). Ensure all soap residue is removed to prevent spotting.
- Allow to dry: Let the siding air dry completely before inspecting for any remaining dirt or damage.
Inspecting Insulated Siding for Damage
A thorough visual inspection allows for early detection of potential problems, preventing minor issues from escalating into major, costly repairs. Regular inspections should be part of your home maintenance routine.
- Check for cracks: Look closely for any cracks or fissures in the siding panels. Pay special attention to areas that are exposed to the elements or may have experienced impact.
- Look for dents: Inspect the siding for any dents or other signs of physical damage. These can weaken the structural integrity of the panels and allow moisture penetration.
- Examine for loose panels: Check for any panels that are loose or appear to be separating from the underlying structure. This can be caused by shifting foundations, wind damage, or improper installation.
- Assess caulking and sealant: Inspect caulking around windows, doors, and other openings for cracks or gaps. Proper sealing is essential for preventing water intrusion.
- Check for signs of moisture: Look for any signs of water damage, such as discoloration, mold, or mildew. These can indicate leaks or other problems that need immediate attention.
Insulated Siding Inspection Checklist
Regular inspections are key to preventing small problems from becoming larger, more expensive issues. This checklist provides a guide for your inspections.
| Inspection Item | Frequency | Notes |
|---|---|---|
| Visual inspection for cracks, dents, and loose panels | Twice yearly (Spring & Fall) | Pay close attention to areas exposed to the elements. |
| Check caulking and sealant around windows and doors | Annually | Replace any cracked or damaged caulking. |
| Assess for signs of moisture damage (discoloration, mold) | Annually | Address any signs of moisture immediately. |
| Examine fasteners for looseness or corrosion | Every 2-3 years | Tighten or replace loose or corroded fasteners. |
| Overall condition assessment | Annually | Note any changes or concerns. |
Addressing Minor Repairs
Maintaining insulated siding involves addressing minor damage promptly to prevent further deterioration and maintain the home’s energy efficiency. Ignoring small issues can lead to more extensive and costly repairs down the line. This section details how to handle common minor repairs.
Repairing Small Cracks and Dents
Small cracks or dents in insulated siding are often easily repaired. For hairline cracks, a high-quality exterior-grade caulk, matched to the siding color, is usually sufficient. Clean the area thoroughly, apply the caulk smoothly using a caulking gun, and smooth it with a damp finger or putty knife. Allow it to cure completely according to the manufacturer’s instructions. For dents, gently coaxing the dent back into shape with a soft-faced mallet might suffice. If the dent remains, applying a small amount of exterior-grade filler, matched to the siding color, followed by sanding and repainting, can effectively conceal the damage.
[Image description: A close-up shows a hairline crack in insulated siding. The next image shows the crack after being filled with matching caulk, smoothed, and cured. The final image shows a dent in the siding, then the dent after gentle manipulation with a soft mallet. The last image shows the dent filled with exterior-grade filler, sanded smooth, and repainted to match the surrounding area.]
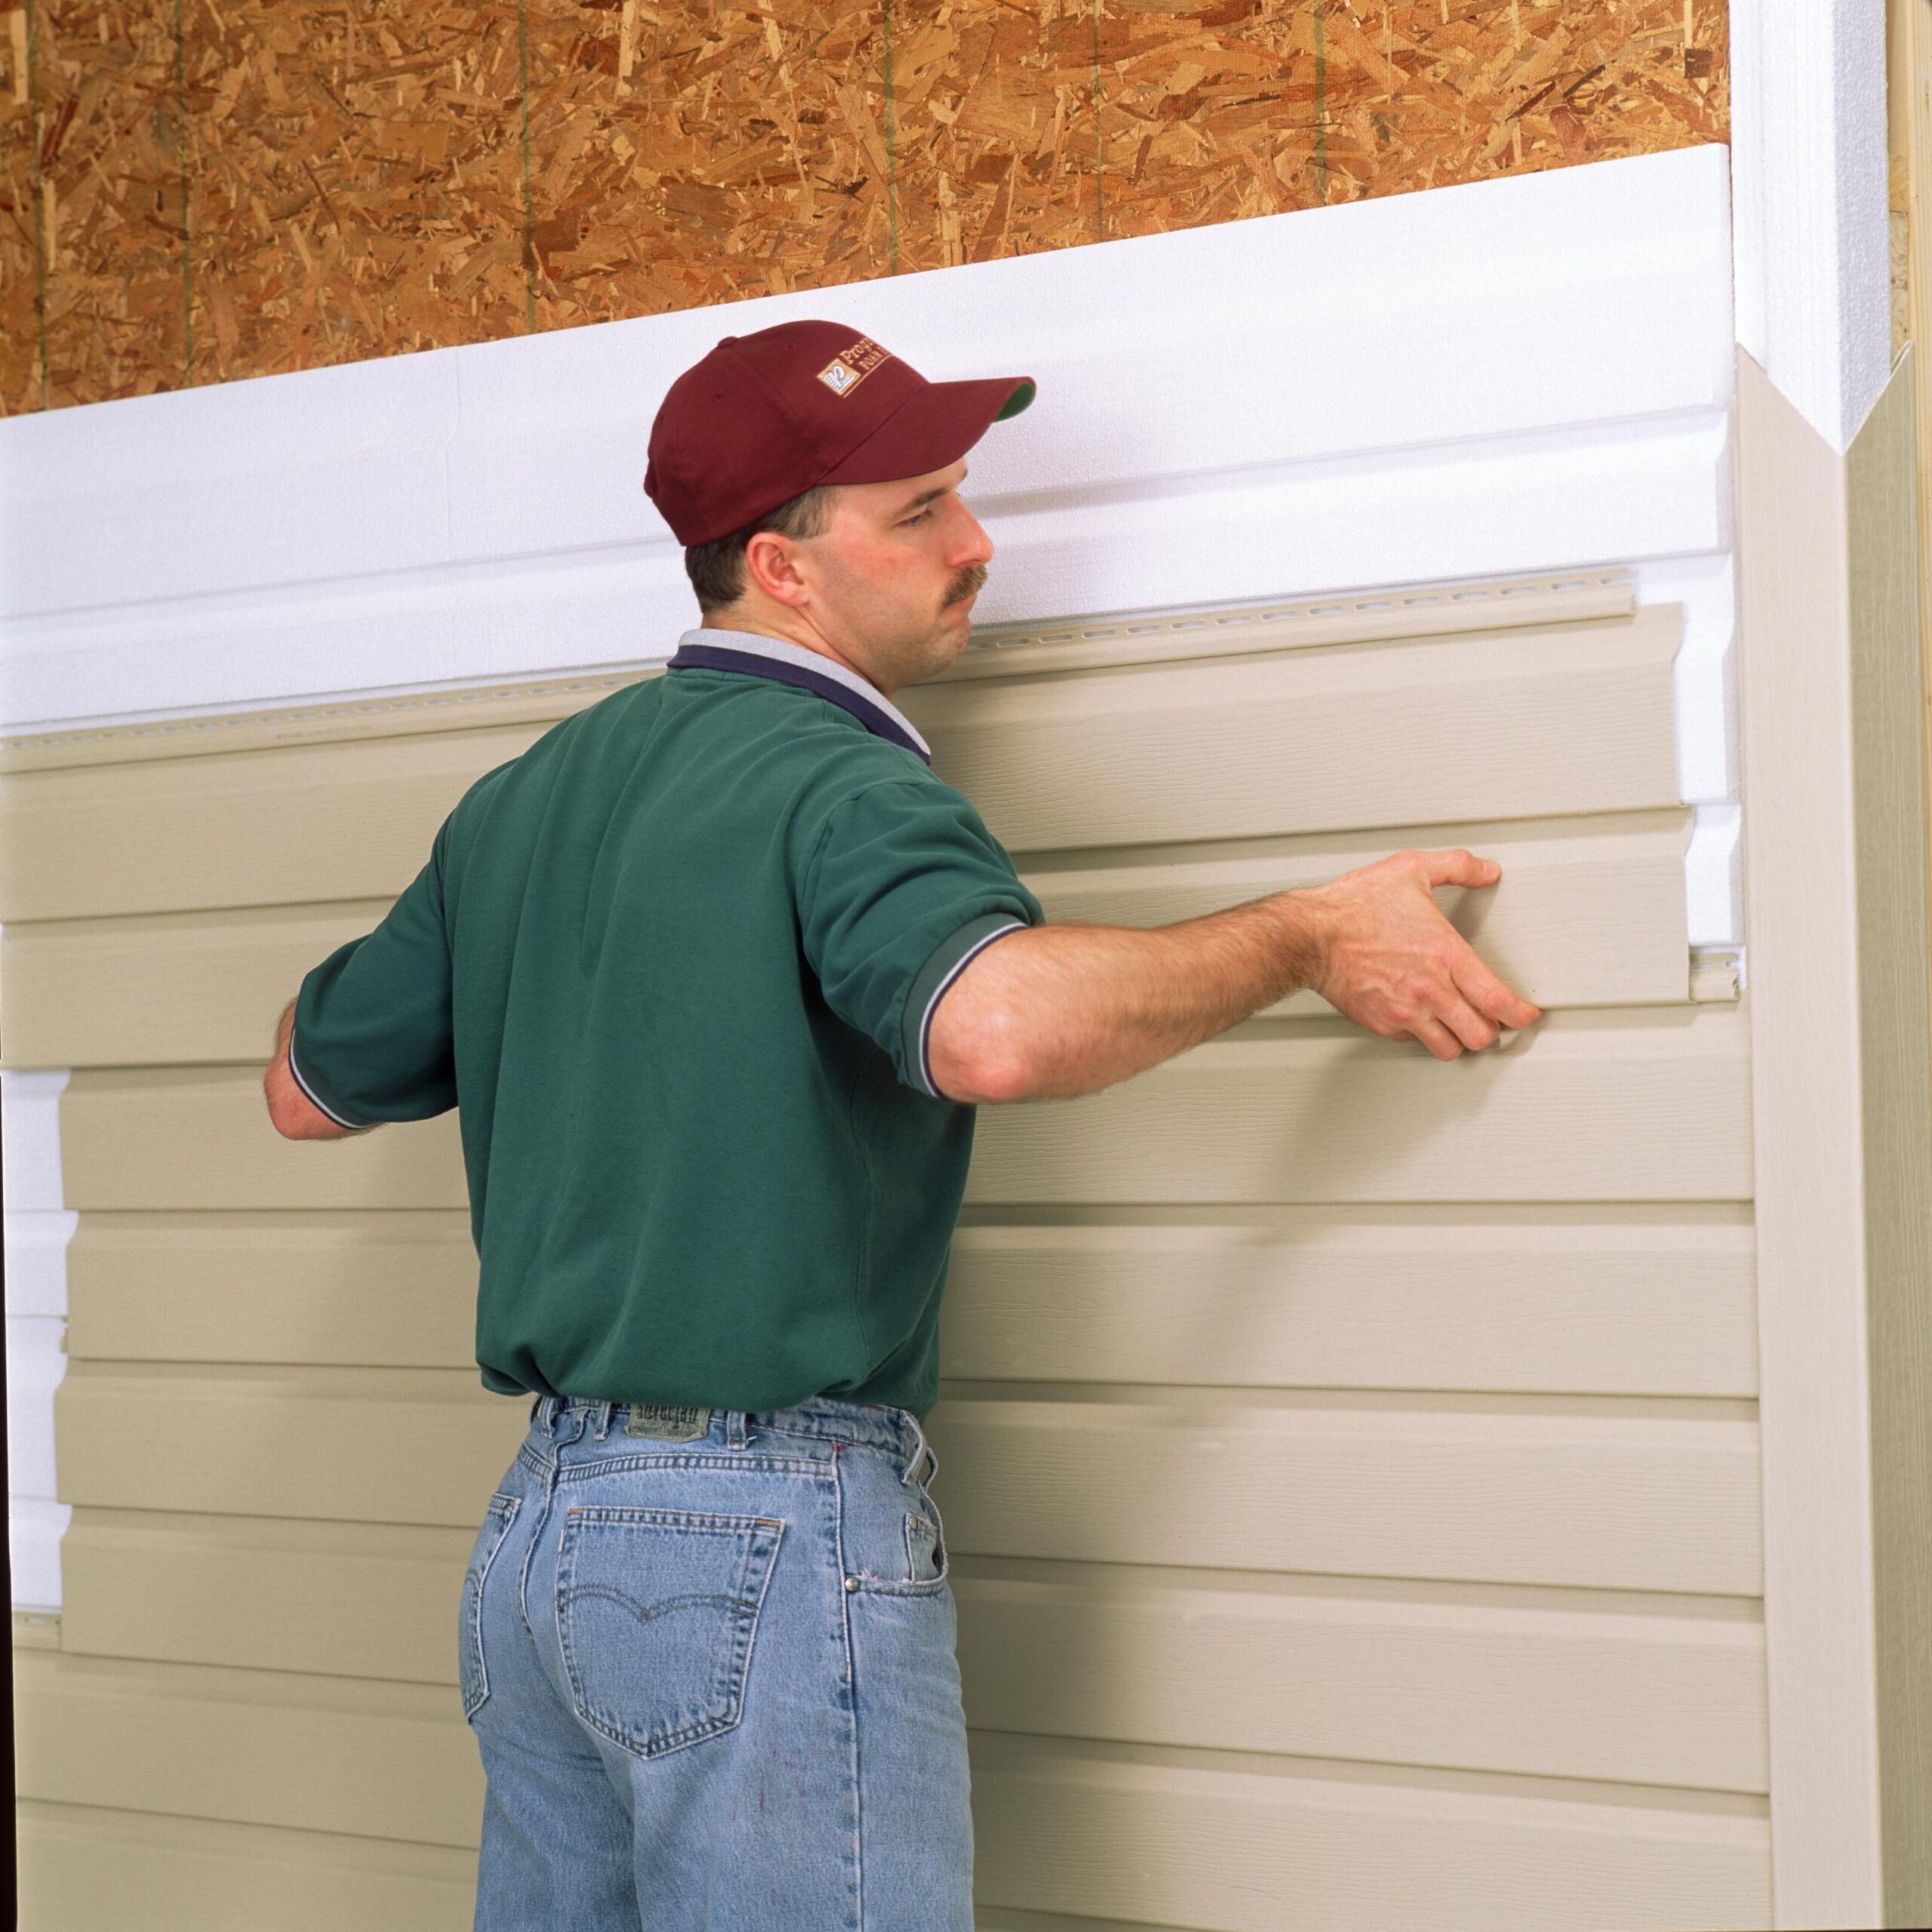
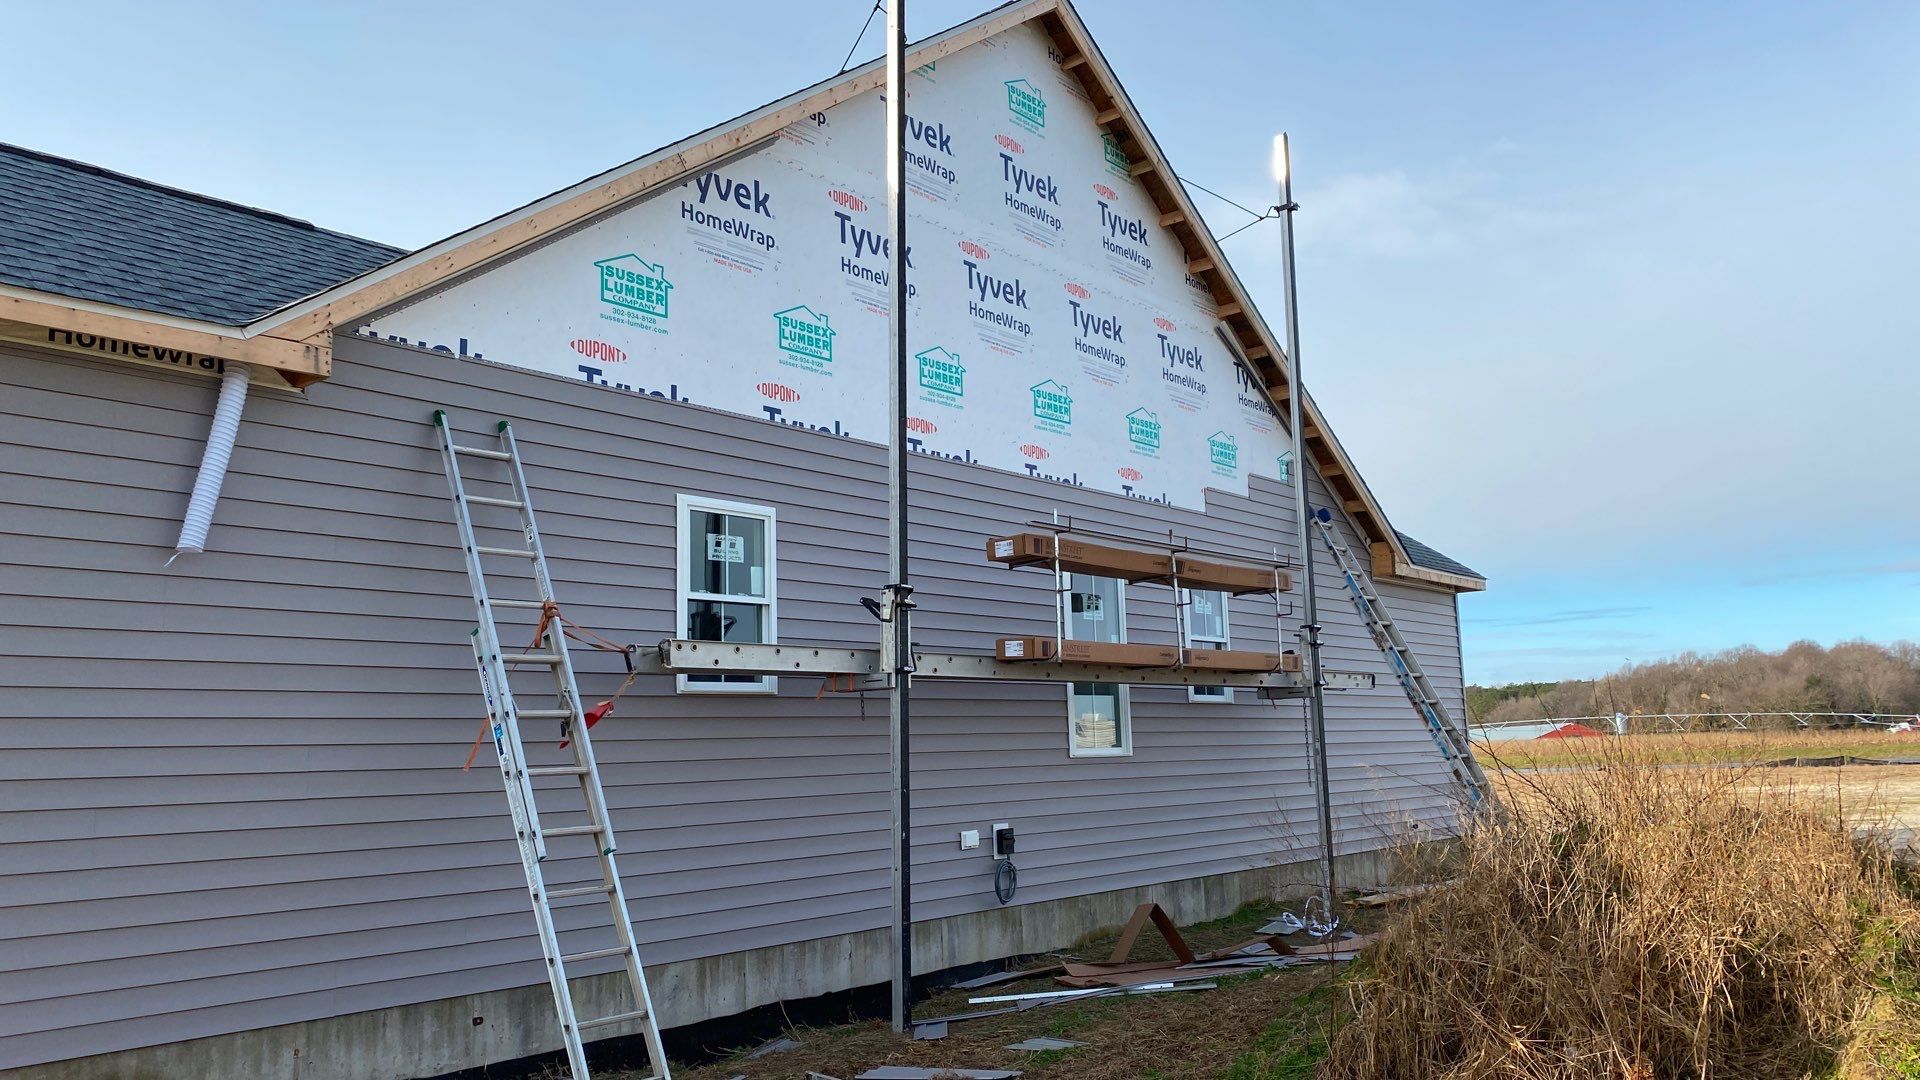
Replacing Damaged or Loose Siding Panels
Replacing a damaged or loose panel requires more effort but is often manageable for DIY enthusiasts. It’s crucial to match the replacement panel precisely to the existing siding for a seamless repair.
- Assessment: Carefully examine the damaged panel and the surrounding area to determine the extent of the damage and the best approach for removal and replacement.
- Removal: Gently pry the damaged panel away from the underlying structure using a pry bar or putty knife, working carefully to avoid further damage to the surrounding panels or the underlying structure. Be mindful of the fasteners holding the panel in place.
- Preparation: Clean the area where the new panel will be installed. Ensure that the underlying structure is sound and free of debris or damage.
- Installation: Carefully align the new panel with the surrounding panels, ensuring proper alignment and fit. Secure the new panel using appropriate fasteners, ensuring they are driven straight and snug, but not over-tightened.
- Finishing: Once the panel is securely fastened, inspect the surrounding area for any gaps or inconsistencies. Apply caulk as needed to seal any gaps and prevent water infiltration. This will ensure a durable and watertight repair.
[Image description: A series of images showing the step-by-step process of removing a damaged panel, preparing the area, installing a new panel, and sealing the seams with caulk. Each image clearly labels the step being shown.]
Caulking and Sealants for Water Infiltration Prevention
Proper caulking and sealing around windows and doors are crucial for preventing water infiltration. Different sealants are suitable for different applications.
- Silicone Caulk: Excellent for exterior applications, offering superior durability and water resistance. Suitable for sealing gaps around windows, doors, and other exterior features.
- Acrylic Latex Caulk: Paintable and relatively easy to apply, making it a good choice for smaller gaps and cracks. Offers good adhesion but may not be as durable as silicone in harsh weather conditions.
- Butyl Rubber Sealant: Provides excellent adhesion and durability, particularly in areas exposed to constant moisture or movement. Often used for sealing around flashing and other critical areas.
Preventing and Addressing Moisture Issues
Maintaining the integrity of your insulated siding requires diligent attention to moisture control. Moisture buildup behind the siding can lead to significant damage, impacting both the siding’s lifespan and the structural health of your home. Understanding the causes and implementing preventative measures is crucial for long-term protection.
Proper ventilation is paramount in preventing moisture accumulation behind insulated siding. Moisture, whether from rain penetration, condensation, or ground water, needs a pathway to escape to avoid damage. Without adequate ventilation, this moisture becomes trapped, creating a breeding ground for mold, mildew, and rot. This can weaken the siding, compromise the insulation’s effectiveness, and even lead to structural damage to the underlying walls and framing.
Consequences of Moisture Damage
Moisture damage to insulated siding and the underlying structure can manifest in several ways. Mold and mildew growth are common, leading to unpleasant odors, respiratory problems, and aesthetic issues. Wood rot can weaken structural components, compromising the stability of the building. The insulation itself can lose its effectiveness, leading to increased energy costs and discomfort. In severe cases, extensive water damage might necessitate costly repairs or even siding replacement. For example, a poorly ventilated attic combined with inadequate flashing around windows and doors can lead to extensive water damage behind the siding, resulting in thousands of dollars in repairs.
Causes of Moisture Problems and Preventative Measures
Several factors contribute to moisture problems in insulated siding systems. These include inadequate ventilation, improper installation, damaged flashing, and water intrusion from various sources such as rain, snow, and ground water. Preventative measures focus on addressing these issues proactively.
Regular inspections are essential. Look for signs of water damage, such as discoloration, swelling, or mold growth. Ensure that all flashing around windows, doors, and other penetrations is properly installed and sealed to prevent water from entering. Properly vented soffits and ridge vents are crucial for attic ventilation, preventing moisture buildup. Addressing any gaps or cracks in the siding promptly minimizes the risk of water intrusion. Consider using a moisture meter to detect hidden moisture problems within the wall assembly. A well-maintained drainage system around the foundation also helps to prevent water from seeping into the walls.
Long-Term Maintenance Strategies
Investing time in a yearly maintenance schedule for your insulated siding will significantly extend its lifespan and protect your home’s exterior. A proactive approach is far more cost-effective than dealing with extensive damage later. Regular maintenance ensures your siding remains aesthetically pleasing and performs its protective function optimally.
Regular maintenance involves a combination of cleaning, inspection, and minor repairs, all aimed at preventing larger, more expensive problems down the line. By addressing small issues promptly, you can avoid the need for extensive and costly repairs or even complete siding replacement. This proactive approach also helps maintain your home’s curb appeal and property value.
Yearly Maintenance Schedule
A well-structured yearly schedule is key to effective long-term siding maintenance. This schedule should include specific tasks for different seasons, taking into account regional climate variations.
| Month | Task | Details |
|---|---|---|
| Spring | Thorough Cleaning | Remove dirt, debris, and cobwebs using a soft brush and a pressure washer (low pressure setting). |
| Spring | Inspection | Check for any damage, such as cracks, loose panels, or signs of water damage. Pay close attention to areas around windows and doors. |
| Summer | Inspection (focus on sun exposure) | Check for signs of fading or warping due to intense sunlight. |
| Fall | Cleaning (leaf removal) | Remove leaves and other debris that can accumulate and trap moisture against the siding. |
| Fall | Inspection (focus on moisture) | Inspect for signs of water damage or mold growth, particularly in areas prone to water accumulation. |
| Winter | Inspection (focus on ice and snow) | Check for any damage caused by ice build-up or snow accumulation. Pay attention to potential areas for ice damming. |
Recommended Tools and Materials
Having the right tools and materials on hand simplifies maintenance tasks and ensures efficient repairs.
- Soft-bristled brush
- Pressure washer (low-pressure setting)
- Ladder (if necessary)
- Caulk gun
- Exterior-grade caulk
- Putty knife
- Sandpaper
- Primer and paint (matching your siding color)
- Safety glasses and gloves
Protecting Insulated Siding from Extreme Weather
Extreme weather conditions can significantly impact the longevity of insulated siding. Taking preventative measures is crucial.
Intense sun exposure can lead to fading and warping. Consider planting shade trees or installing awnings to mitigate direct sunlight. Regular cleaning helps remove dirt that can absorb heat. For particularly harsh sun, reflective coatings or paints might be considered, although this should be done in consultation with a siding professional.
Freezing temperatures can cause expansion and contraction, potentially leading to cracking or damage. Ensure proper drainage to prevent water accumulation that could freeze and expand, causing damage. Ice dams, often formed by insufficient attic insulation, can be especially damaging; addressing attic insulation issues is therefore a key aspect of long-term siding protection. Regular inspection during winter months is vital to detect and address any issues promptly.
Dealing with Pests and Insects
Insulated siding, while durable, isn’t immune to pest infestations. Various insects and rodents can find their way into the gaps and crevices, causing damage and potentially compromising the insulation’s effectiveness. Understanding common culprits and implementing preventative measures is key to maintaining the longevity and integrity of your siding.
Preventing pest infestations is significantly easier and cheaper than dealing with them once established. Regular inspections and proactive sealing can go a long way in keeping your home pest-free. Prompt treatment of any infestations that do occur is vital to minimizing damage and preventing further spread.
Common Pests and Insects Affecting Insulated Siding
Several pests can target insulated siding, often drawn to the warmth and shelter it provides. Carpenter ants, termites, wood-boring beetles, and rodents like mice and rats are among the most common offenders. Carpenter ants, for instance, excavate nests within wood, weakening structural components, while termites can cause extensive and costly damage. Rodents, besides causing structural damage, can also contaminate insulation materials with droppings and urine. Wood-boring beetles create tunnels within the wood, leading to structural weakening and potential entry points for other pests.
Preventing Pest Infestations
Prevention is the most effective strategy. This involves meticulous sealing of any gaps or cracks around windows, doors, and other areas where pests might enter. Regular cleaning of gutters and downspouts prevents water accumulation, which can attract insects and create favorable conditions for pest activity. Maintaining a clean and clutter-free exterior also reduces attractive nesting sites. Proper landscaping, keeping vegetation trimmed back from the house, also minimizes hiding places for pests. Consider using pest-deterrent plants around the foundation. For example, planting peppermint or lavender near the house can help repel some insects.
Addressing Existing Pest Infestations
If an infestation occurs, early detection is crucial. Inspect your siding regularly for signs of damage, such as holes, droppings, or unusual noises. If you suspect an infestation, identify the pest to determine the appropriate treatment. For minor infestations, you may be able to address the problem yourself using commercially available insecticides. Always follow the product instructions carefully. For larger infestations or if you’re unsure how to handle the situation, it’s best to contact a professional pest control service. They possess the expertise and tools to effectively eliminate the infestation and prevent future occurrences, often using environmentally friendly methods. They can also identify the root cause of the infestation to prevent recurrence.
Summary
Maintaining insulated siding isn’t just about aesthetics; it’s about protecting your home’s structure and increasing its lifespan. By implementing a regular cleaning and inspection schedule, addressing minor repairs promptly, and proactively preventing moisture issues, you can ensure your siding remains a durable and efficient part of your home for many years. Remember to consult professional help for major repairs or if you’re unsure about any aspect of the maintenance process.