Insulated Siding Repair Tips
Insulated siding repair tips can save you money and improve your home’s curb appeal. This guide covers everything from identifying minor cracks and holes to replacing entire panels, offering practical advice and step-by-step instructions for tackling various damage types. We’ll explore the best tools and materials, preventative maintenance, and techniques for addressing issues like water damage and corner repairs, ensuring your siding remains in top condition for years to come.
Whether you’re dealing with weather-related damage, impact damage, or simply general wear and tear, understanding the specifics of your insulated siding is key. This guide will walk you through assessing the extent of damage, choosing the right repair methods, and even preventing future problems. From minor fixes to larger replacements, we’ll equip you with the knowledge and confidence to handle any insulated siding repair project.

Identifying Damage to Insulated Siding
Insulated siding, while durable, is susceptible to various forms of damage over time. Understanding the common types of damage and how to assess their extent is crucial for effective repairs. Proper identification prevents further deterioration and ensures the longevity of your home’s exterior.
Common Types of Insulated Siding Damage
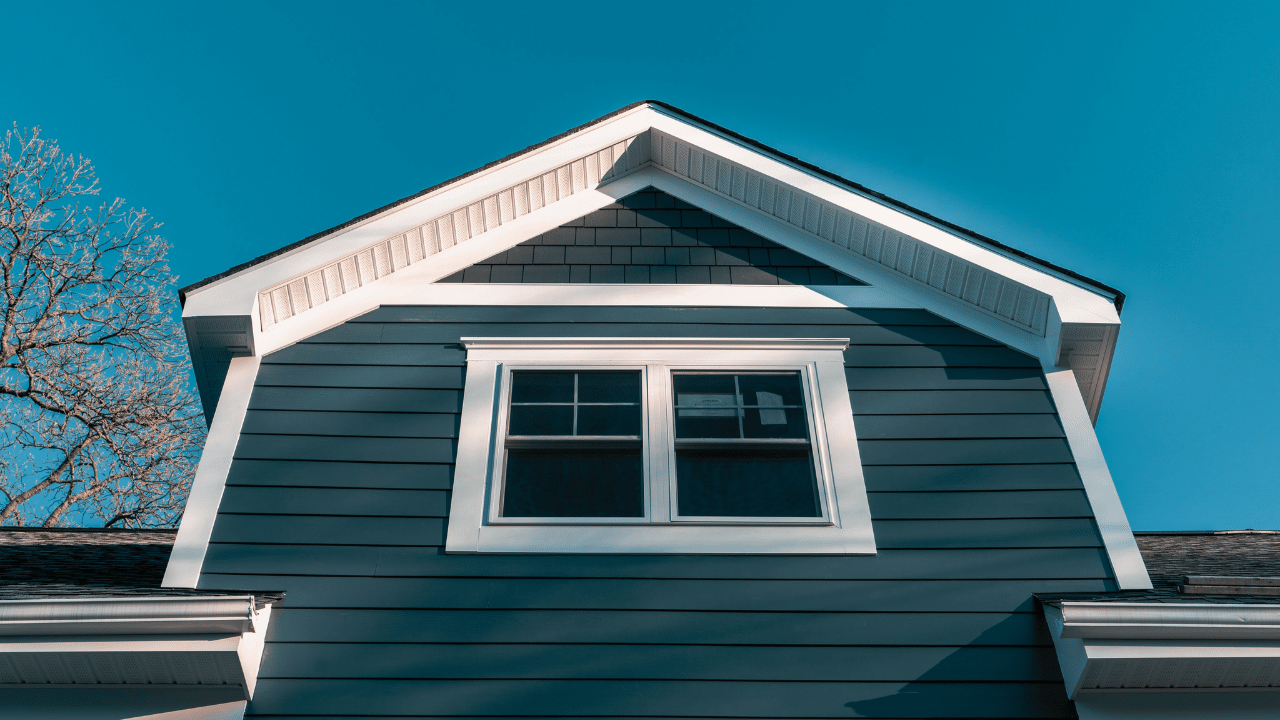
Insulated siding can be damaged by impact, weathering, and age. Impact damage often results in dents, cracks, or holes in the siding panels. This can be caused by anything from accidental collisions with lawnmowers or sports equipment to more significant impacts like hailstorms or falling branches. Weathering damage, on the other hand, manifests as fading, discoloration, warping, or cracking due to prolonged exposure to sunlight, moisture, and temperature fluctuations. Age-related damage is often cumulative, with minor imperfections gradually accumulating over time, eventually leading to more significant problems such as delamination (separation of the outer facing from the insulating foam core) or significant cracking.
Assessing the Extent of Damage
A thorough inspection is vital to accurately assess the extent of damage. Begin by visually inspecting all siding panels, paying close attention to areas prone to damage like corners, edges, and low-lying areas. Look for any signs of impact, such as dents, cracks, or holes. Check for discoloration, warping, or signs of water damage, such as swelling or rotting. For more thorough inspection, gently probe any suspect areas with a screwdriver or other similar tool to determine the depth and extent of any damage. If the damage appears extensive or involves structural elements, consulting a professional siding contractor is recommended. Remember to take detailed notes and photographs of the damage for future reference.
Insulated Siding Failure Points
The type of insulated siding used significantly impacts its failure points. Different materials and construction methods lead to varying vulnerabilities. The table below compares common types, highlighting their typical weaknesses.
| Siding Type | Typical Failure Points | Common Damage Types | Repair Considerations |
|---|---|---|---|
| Vinyl | Seams, corners, edges | Cracking, warping, fading | Replacement of damaged panels often sufficient. |
| Fiber Cement | Edges, fastener holes | Cracking, chipping, water damage | Repair may involve patching or replacement depending on severity. |
| Aluminum | Fastener holes, dents | Dents, scratches, corrosion | Repair can range from minor dent repair to panel replacement. |
| Polyurethane Foam-Backed | Foam core delamination, impact damage | Cracking, holes, separation of facing | Often requires more extensive repair or replacement due to foam core issues. |
Repairing Minor Damage to Insulated Siding
Repairing minor damage to your insulated siding can significantly extend its lifespan and maintain your home’s curb appeal. Small cracks, holes, and gaps are common occurrences, but with the right approach and materials, these issues are easily addressed. This section outlines the process of repairing such damage, focusing on preparation, material selection, and application techniques.
Small Crack and Hole Repair
Small cracks and holes in insulated siding can often be repaired using a patching compound specifically designed for exterior use. These compounds are typically flexible and paintable, allowing for a seamless repair. Begin by cleaning the damaged area thoroughly to remove any loose debris, dirt, or mildew. Then, apply the patching compound, ensuring it fills the crack or hole completely and slightly extends beyond the edges. Allow the compound to dry completely according to the manufacturer’s instructions before lightly sanding the area smooth and applying a fresh coat of paint to match the existing siding. For larger holes, you may need to use a reinforcing mesh behind the patching compound to prevent cracking. This mesh provides extra support and prevents the patch from sinking or separating over time.
Patching Damaged Areas
Choosing the right patching material is crucial for a successful repair. For small imperfections, a high-quality acrylic caulk may suffice. For larger holes or significant damage, a vinyl or aluminum patching material designed for insulated siding may be necessary. These materials often come in various colors to match common siding shades. Before applying any patch, the area must be completely clean and dry. Apply the patch according to the manufacturer’s instructions, ensuring a secure and even fit. Once the patch is in place and cured, lightly sand the edges smooth for a seamless finish. Remember to use a primer before painting to ensure good adhesion and prevent the paint from peeling.
Caulking Gaps and Seams
Caulking gaps and seams is essential to prevent water infiltration and maintain the integrity of your insulated siding. Use a high-quality exterior-grade caulk that is flexible and paintable. Before applying the caulk, clean the area thoroughly and ensure it is dry. Apply a thin, even bead of caulk, pressing it firmly into the gap or seam. Smooth the caulk with a wet finger or a caulking tool to create a neat, even finish. Allow the caulk to dry completely before painting to match the surrounding siding. Regular caulking maintenance is recommended to prevent future water damage.
Cleaning and Preparing the Siding Surface
Proper cleaning and preparation are crucial steps before any repair. Begin by thoroughly washing the damaged area with a mild detergent and water solution. Use a soft-bristled brush to scrub away any dirt, grime, mildew, or loose paint. Rinse the area thoroughly with clean water and allow it to dry completely. For stubborn mildew, a mildew-removing solution may be necessary. Once the area is clean and dry, lightly sand the edges of the damaged area to create a rough surface for better adhesion of the patching compound or caulk. Removing loose or flaking paint is also vital for a long-lasting repair.
Replacing Damaged Insulated Siding Panels
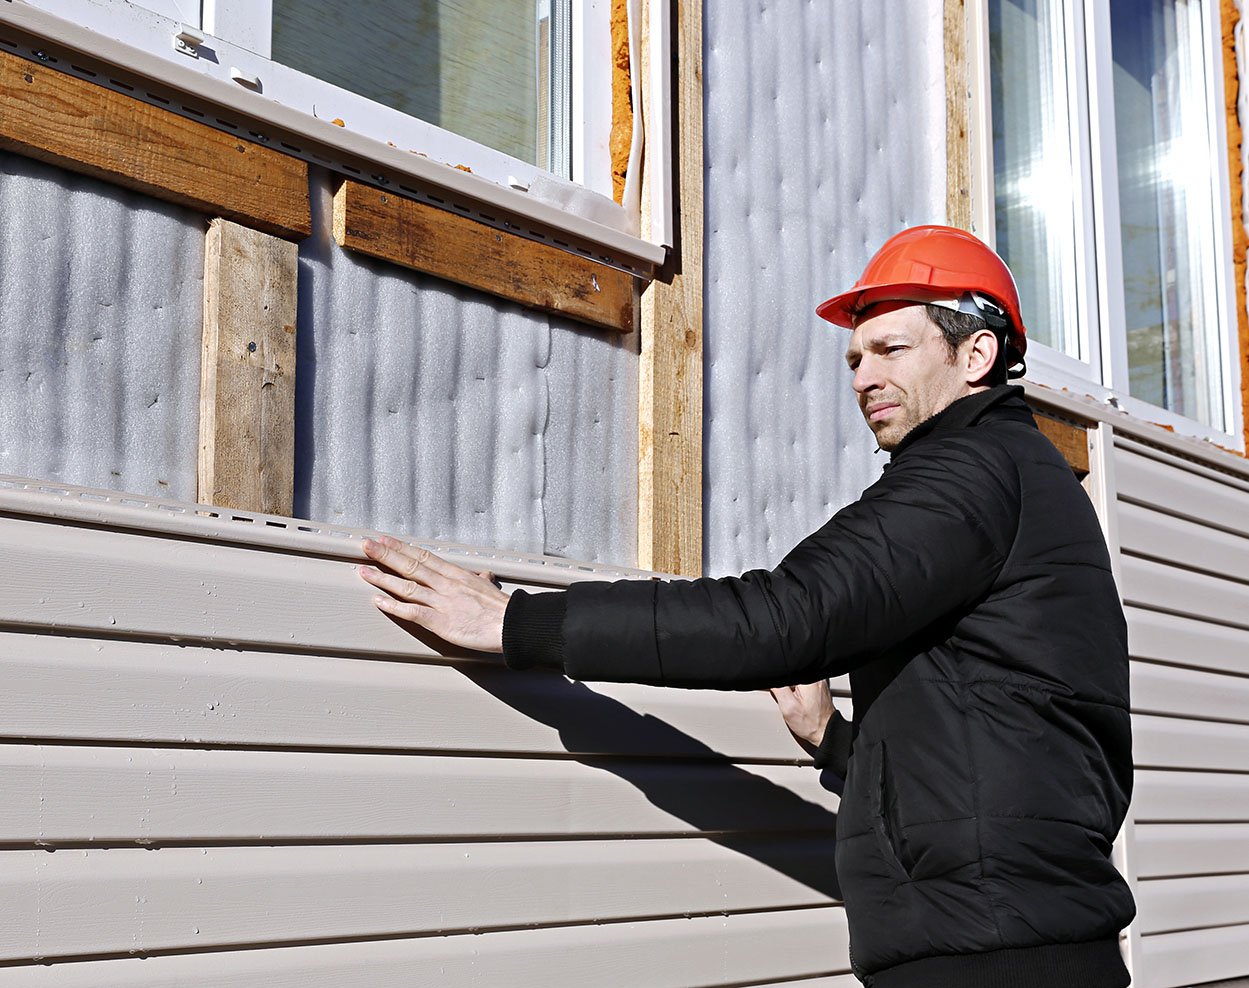
Replacing a damaged insulated siding panel requires careful attention to detail to ensure a seamless repair and maintain the home’s exterior integrity. The process involves removing the old panel, selecting a precise replacement, and installing it securely with proper sealing.
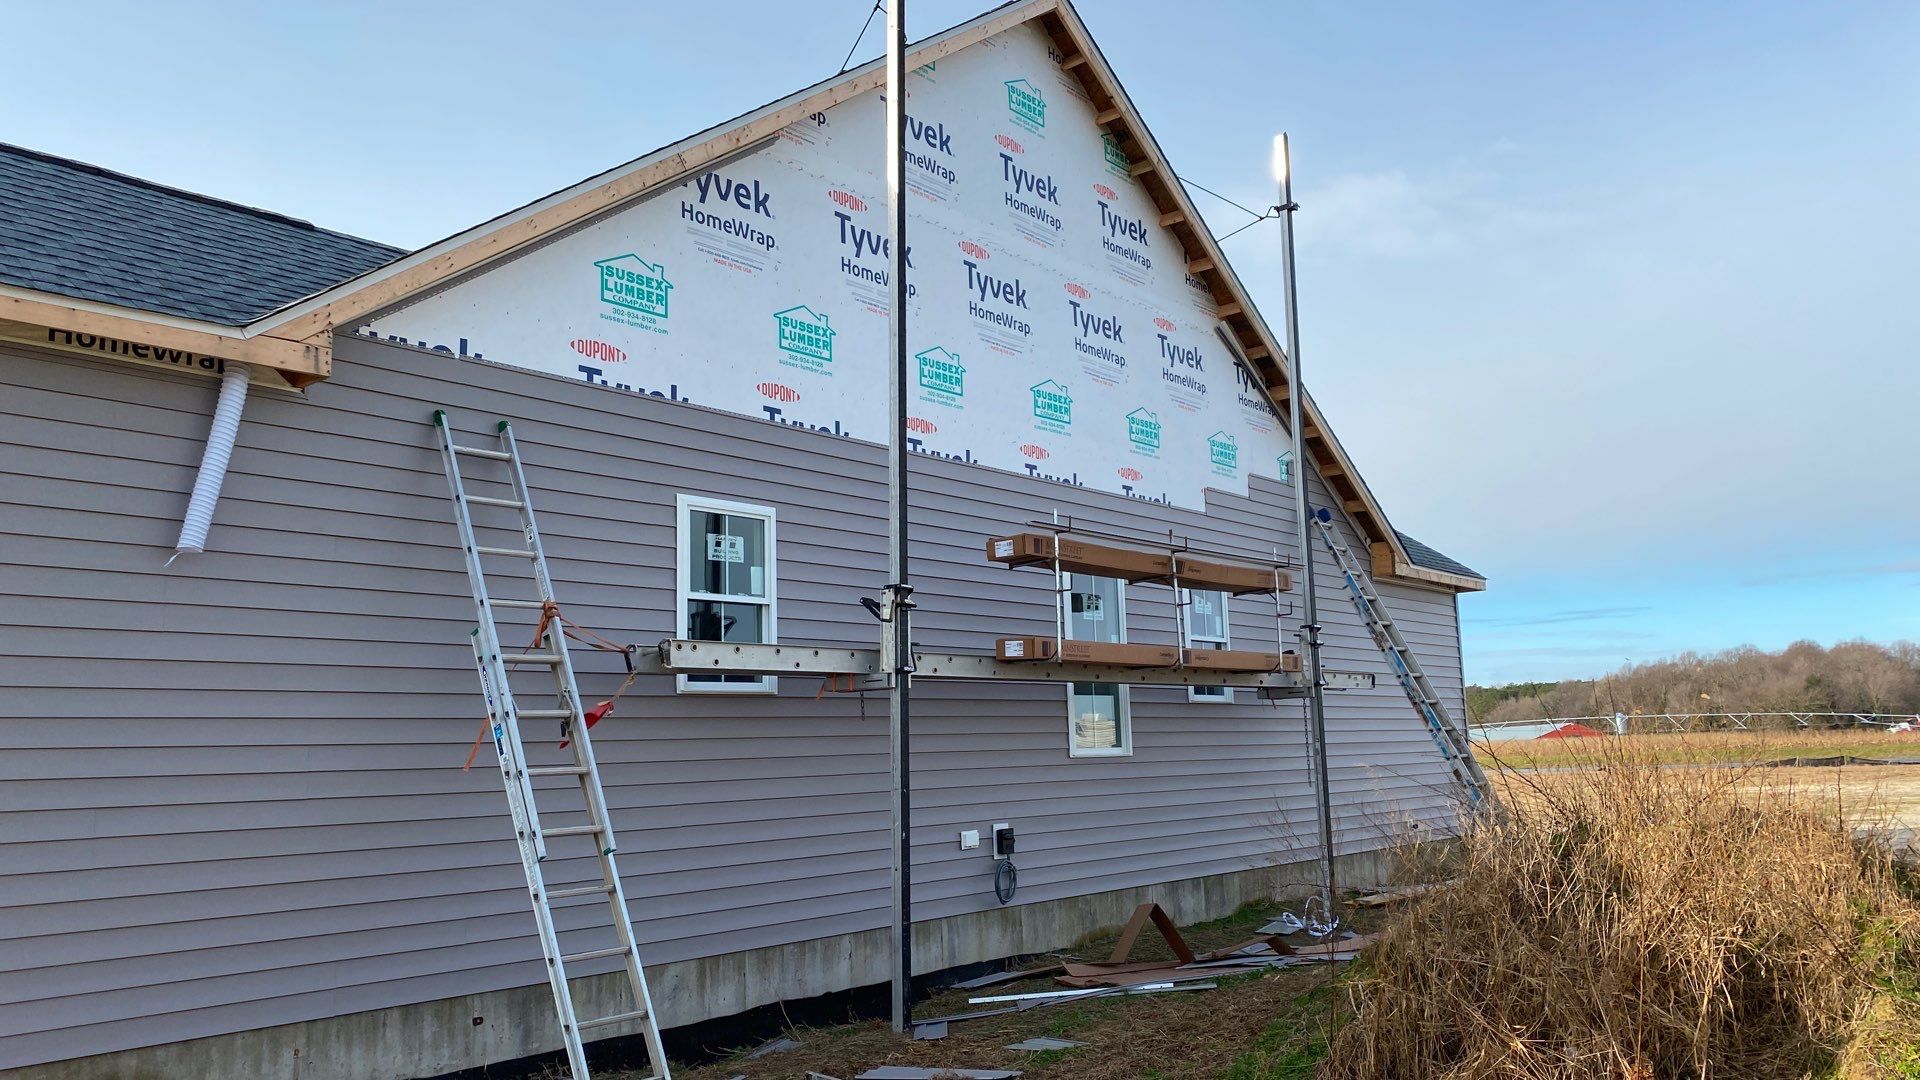
Removing a Damaged Insulated Siding Panel
Removing a damaged panel begins by carefully assessing the surrounding area. You’ll need to identify the fastening points of the damaged panel and any adjacent panels that might be affected. Using a pry bar, gently lift the bottom edge of the panel, working your way upwards to release the fasteners. Be cautious not to damage surrounding panels or the underlying structure. Once the panel is loose, carefully remove it, paying attention to any nails or screws that may need to be removed. Remember to wear appropriate safety gear, including gloves and eye protection, throughout this process.
Selecting a Replacement Insulated Siding Panel
Choosing the right replacement panel is crucial for a successful repair. Measure the dimensions of the damaged panel accurately, noting the manufacturer, color, and any unique features such as texture or grain. Visit a local home improvement store or contact the siding manufacturer directly to obtain a precise match. If an exact match is unavailable, consider choosing a panel from the same manufacturer and color range, ensuring the texture and profile are as close as possible to minimize visual discrepancies. Always purchase slightly more material than needed to account for potential cutting and trimming.
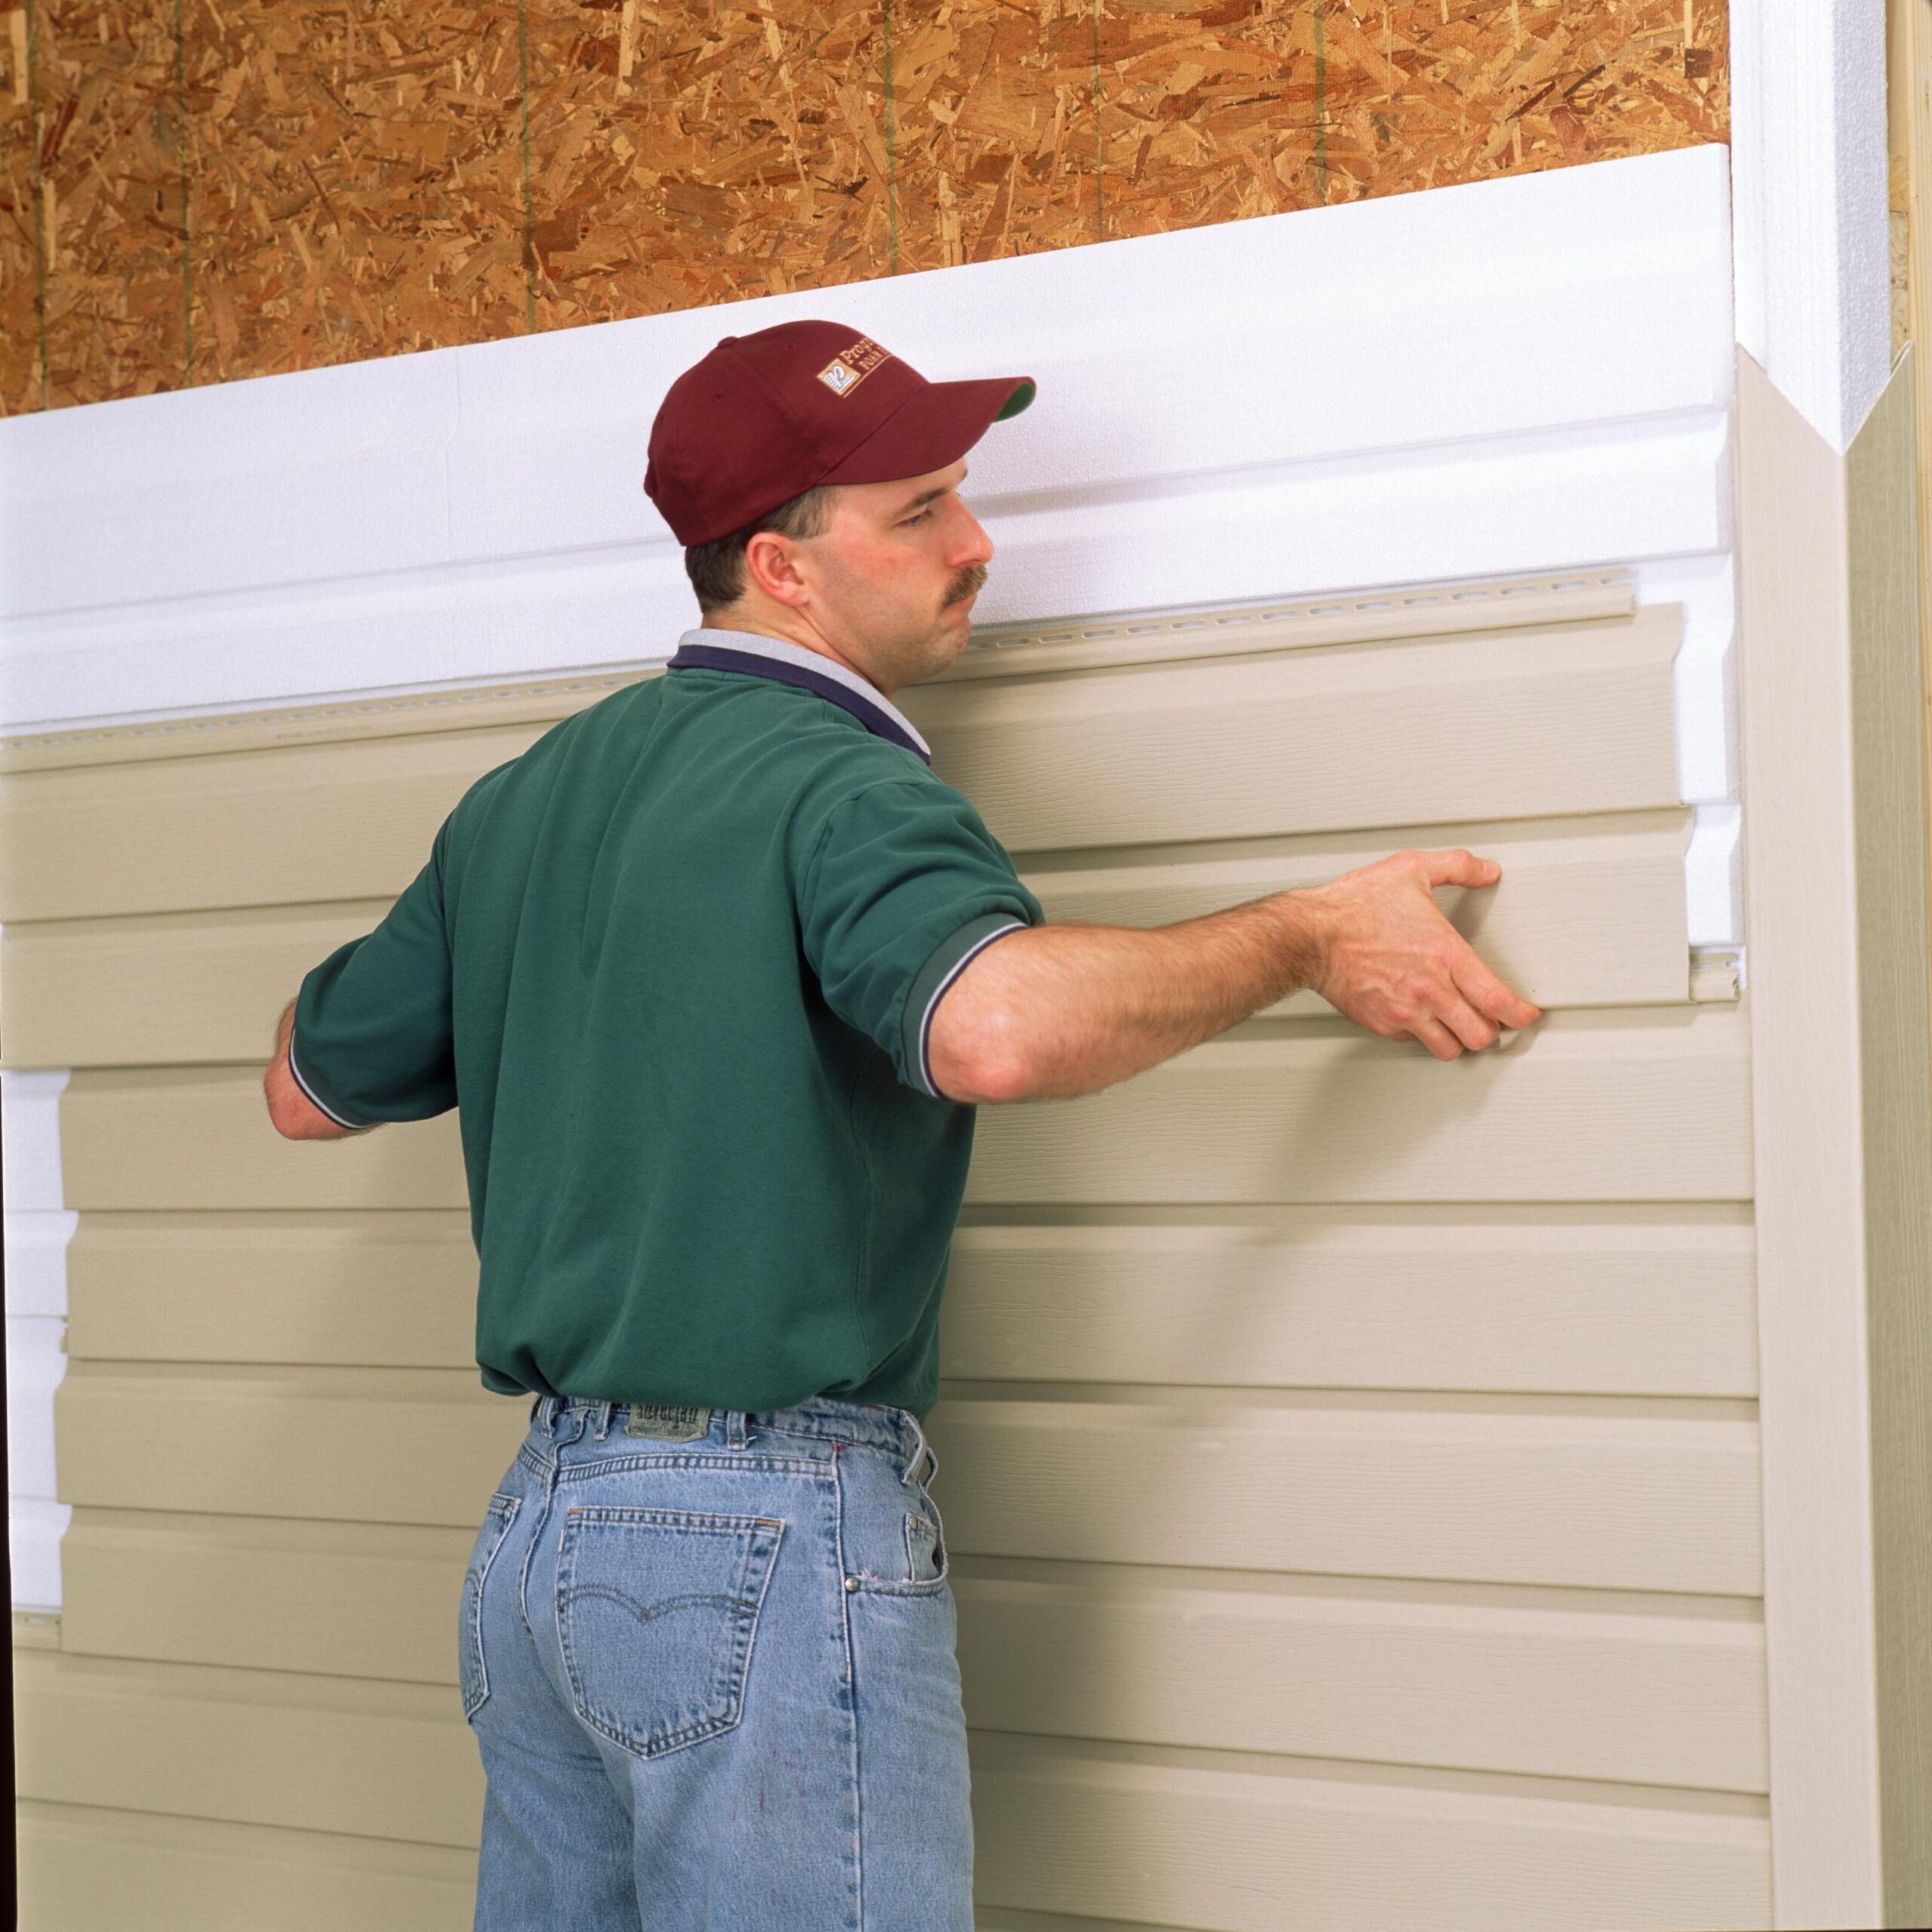
Installing a New Insulated Siding Panel
Installing the new panel involves reversing the removal process. Begin by aligning the panel with the surrounding panels, ensuring it sits flush against the underlying structure. Secure the panel using appropriate fasteners, such as nails or screws, according to the manufacturer’s instructions. It is generally recommended to start at the top and work your way down. Once the panel is securely fastened, apply a high-quality sealant along the edges and seams to prevent water penetration. This will help maintain the insulation properties of the siding and protect the underlying structure from moisture damage.
Cutting and Trimming Insulated Siding Panels
Cutting insulated siding panels requires a sharp utility knife or a specialized siding cutter. Precise measurements are essential to avoid waste and ensure a proper fit. For straight cuts, use a straight edge as a guide to ensure a clean, even cut. For more complex cuts, such as around windows or corners, it’s best to use a jigsaw or a specialized siding cutter that can navigate curves. Always wear appropriate safety gear when cutting, as the insulation material can be irritating. Remember to test the fit of the cut panel before final installation and make adjustments as needed.
Preventing Future Insulated Siding Damage
Investing a little time in preventative maintenance can significantly extend the lifespan of your insulated siding and save you money on costly repairs down the line. Regular inspections and proactive measures are key to keeping your siding looking its best and performing optimally.
Regular maintenance is crucial for preventing damage and maintaining the aesthetic appeal of your insulated siding. Neglecting this can lead to premature deterioration, necessitating more extensive and expensive repairs. This section details strategies to protect your investment and ensure your siding remains in top condition for years to come.
Preventative Maintenance Strategies
A yearly inspection is recommended, checking for loose panels, cracks, or signs of water damage. Pay close attention to areas prone to impact, such as corners and areas near ground level. Minor repairs addressed promptly can prevent larger, more expensive problems later. Cleaning the siding regularly removes dirt and debris that can trap moisture and contribute to damage.
Protecting Siding from Extreme Weather
Extreme weather conditions, such as heavy snow, strong winds, and hail, can cause significant damage to insulated siding. Regularly clearing snow and ice buildup prevents excessive weight stress on the panels. Consider installing wind barriers or additional bracing in high-wind areas to prevent damage from strong gusts. For hail-prone areas, investing in impact-resistant siding might be a worthwhile consideration. In regions experiencing extreme temperature fluctuations, proper ventilation behind the siding can prevent moisture buildup and reduce the risk of cracking or warping.
Potential Hazards and Mitigation Strategies
Several hazards can damage insulated siding. Impact from falling branches or debris can cause dents or cracks. Regular tree trimming and proactive landscaping can mitigate this risk. Improper installation can leave gaps and vulnerabilities, allowing moisture to penetrate and cause damage. Ensuring proper installation by qualified professionals is vital. Pest infestations, such as termites or carpenter ants, can weaken the siding structure from within. Regular pest inspections and preventative treatments can help avoid this. Finally, improper cleaning techniques can scratch or damage the siding’s surface. Gentle cleaning methods and appropriate cleaning solutions are essential.
Recommended Cleaning Products and Techniques
Cleaning your insulated siding should be a gentle process to avoid damage. A solution of mild dish soap and water, applied with a soft-bristled brush, is generally sufficient for removing dirt and grime. Avoid using abrasive cleaners or high-pressure washers, as these can damage the siding’s surface. For stubborn stains, a specialized siding cleaner may be necessary, but always test it on a small, inconspicuous area first. Rinse thoroughly with clean water after cleaning to remove any soap residue. Regular cleaning, ideally twice a year, will help maintain the appearance and longevity of your insulated siding.
Insulated Siding Repair Materials and Tools
Having the right tools and materials on hand is crucial for a successful insulated siding repair. The specific items you’ll need will depend on the extent of the damage, but having a well-stocked toolbox will save you time and frustration. This section outlines essential supplies and explains their appropriate applications.
Insulated Siding Repair Materials
Choosing the right materials is key to a lasting repair. The type of material you select will depend on the type of siding you have and the nature of the damage.
- Caulking and Sealants: Several types are available, each with specific properties. Silicone caulk offers excellent adhesion and weather resistance, making it ideal for sealing gaps and cracks around windows and doors. Acrylic latex caulk is more flexible and paintable, suitable for smaller gaps and less demanding applications. Butyl rubber sealant is exceptionally durable and resistant to UV degradation, perfect for areas exposed to harsh weather conditions. Always select a sealant that is compatible with your siding material.
- Patching Compounds: For larger holes or damaged sections, patching compounds provide a strong, durable repair. Fiber-reinforced patching compounds offer excellent strength and flexibility, while epoxy-based compounds provide a very strong, rigid repair. The choice depends on the size and location of the damage. For instance, a fiber-reinforced compound might be better for a damaged corner, while an epoxy might be more suitable for a large hole in a flat panel. Color matching is important for a seamless repair.
- Insulated Siding Panels: If a panel is beyond repair, you’ll need a replacement. Ensure the replacement panel matches the existing siding in color, texture, and thickness. It’s advisable to purchase extra panels to have on hand for future repairs.
- Fasteners: The correct fasteners are critical for a secure and long-lasting repair. Using the wrong type of fastener can lead to further damage or even panel failure. Stainless steel screws are generally preferred for their corrosion resistance. The size and type of screw should match the thickness and material of your siding panels. For example, longer screws might be necessary for thicker panels or for areas requiring extra holding power. Nails should be galvanized to prevent rust.
Insulated Siding Repair Tools
Having the right tools ensures efficient and effective repairs. The list below covers the basics for most repair scenarios.
- Measuring Tape and Pencil: Accurate measurements are essential for cutting replacement panels and assessing damage.
- Utility Knife: Used for carefully cutting siding panels and removing damaged sections.
- Caulk Gun: For applying caulking and sealants neatly and efficiently.
- Putty Knife: For applying and smoothing patching compounds.
- Drill with appropriate drill bits: For pre-drilling holes for screws or nails to prevent splitting the siding.
- Screwdriver or Impact Driver: For installing fasteners securely.
- Hammer: If using nails instead of screws.
- Safety Glasses and Gloves: Always protect yourself when working with sharp tools and potentially hazardous materials.
Types of Insulated Siding Materials and Their Properties
Various materials are used in insulated siding, each with unique characteristics. Understanding these differences helps in selecting appropriate repair materials and techniques.
- Vinyl Siding: Lightweight, relatively inexpensive, and easy to install and maintain. However, it can be susceptible to cracking and warping under extreme temperatures.
- Fiber Cement Siding: Durable, fire-resistant, and low-maintenance. It’s more expensive than vinyl but offers superior longevity and weather resistance. It is heavier and more difficult to cut and install than vinyl.
- Aluminum Siding: Lightweight, durable, and resistant to corrosion. It’s less prone to damage from impacts than vinyl but can dent easily. It also tends to be more expensive than vinyl siding.
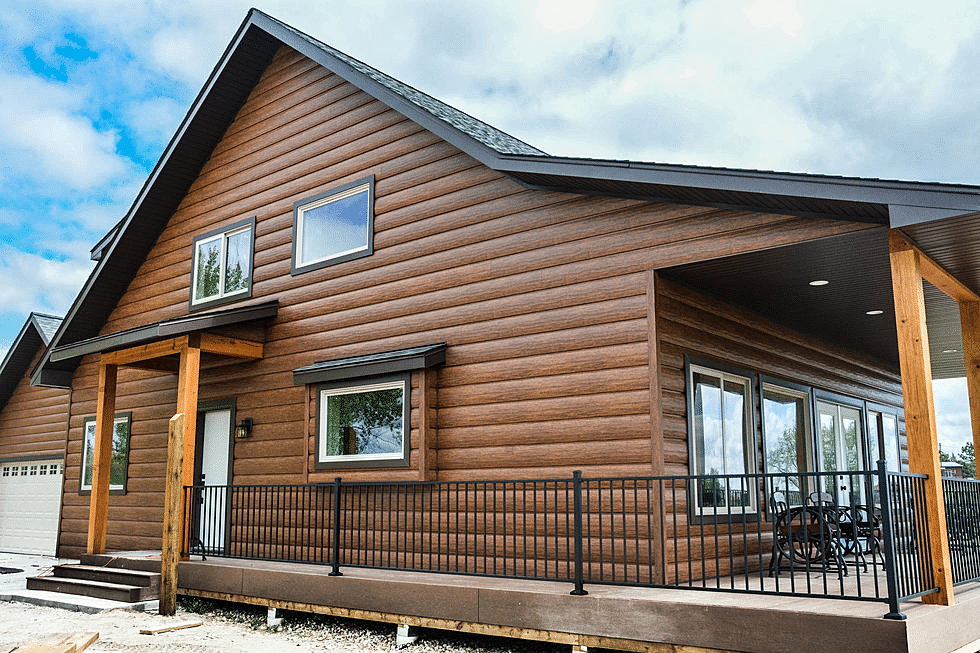
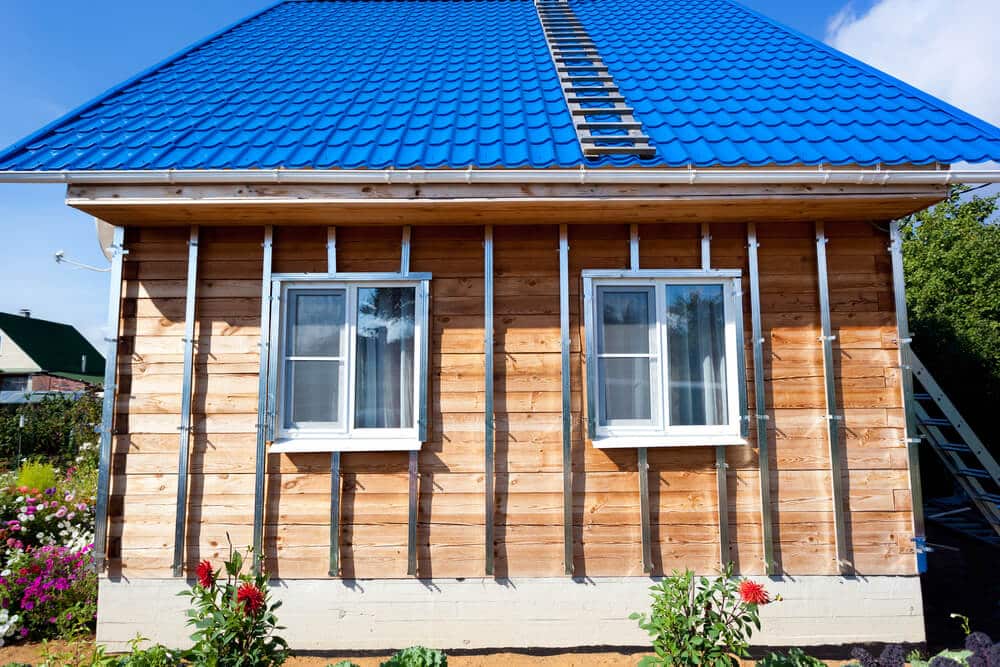
- Wood Siding: Aesthetically pleasing, but requires more maintenance than other options. It’s susceptible to rot, insect damage, and fire. Proper sealing and regular maintenance are crucial.
Illustrating Insulated Siding Repair Techniques
Repairing insulated siding involves different techniques depending on the type and extent of the damage. This section details the process for repairing common issues, providing visual descriptions to aid understanding. Remember to always prioritize safety and use appropriate personal protective equipment (PPE) during repairs.
Repairing a Damaged Corner Piece of Insulated Siding
Damaged corner pieces often result from impact or weathering. Repair involves carefully removing the damaged section and installing a replacement. Imagine a corner piece with a noticeable crack extending from the top to the bottom. First, you would use a utility knife to carefully cut along the crack, extending the cut to cleanly separate the damaged section. This creates a clean edge for the new piece. Next, measure the dimensions of the removed section. Then, using the measurements, carefully cut a replacement piece from a new siding panel. The replacement piece should be identical in size and shape to the removed section. Apply a bead of construction adhesive to the back of the new piece and carefully slide it into place, ensuring a tight fit against the surrounding panels. Finally, use appropriate fasteners to secure the new piece. The repaired corner should seamlessly blend with the existing siding. A well-executed repair will be virtually invisible.
Repairing Damaged Flashing Around Windows or Doors
Flashing is crucial for preventing water intrusion. Damaged flashing requires prompt attention. Picture a window where the flashing is cracked and peeling away from the siding. Begin by carefully removing the damaged flashing. Use a putty knife to gently pry away the old flashing, taking care not to damage the underlying siding or window frame. Inspect the area for any signs of water damage or rot. If rot is present, address it before installing new flashing. Clean the area thoroughly. Then, apply a bead of high-quality sealant along the window frame where the new flashing will be installed. Cut a piece of new flashing slightly larger than the window frame to allow for overlap. Carefully position and press the new flashing into place, ensuring it completely covers the exposed area. Overlap the flashing with the existing siding, and secure it using appropriate fasteners. The final result should be a neat, watertight seal around the window. A similar process is used for door flashing repairs.
Repairing Water Damage Behind the Siding
Water damage behind siding often requires more extensive repair. Imagine a section of siding showing signs of discoloration or swelling, indicating water intrusion. The first step involves identifying the source of the leak. This may require careful inspection of the roof, gutters, and window/door seals. Once the source is identified and repaired, you need to access the damaged area. This usually involves carefully removing the affected siding panels. Use a pry bar to gently lift the panels away from the underlying structure. Take care not to damage the panels beyond repair if they are to be reused. Next, thoroughly inspect the area for water damage and rot. Any damaged wood or insulation should be removed and replaced. Ensure the area is completely dry before reinstalling the siding. Use a sealant to protect the repaired area from future water damage. Finally, reinstall the siding panels, ensuring a tight and watertight fit. The repaired area should look as good as new, and any signs of previous water damage should be eliminated.
Last Recap
Repairing insulated siding successfully requires a blend of careful assessment, appropriate materials, and precise techniques. By following the steps outlined in this guide, you can effectively address damage, protect your home from the elements, and maintain its aesthetic appeal. Remember, preventative maintenance is key to prolonging the life of your siding, so regular inspections and cleaning are essential investments. With a little knowledge and the right tools, you can keep your home looking its best for years to come.