Insulated Siding for Better Insulation
Insulated siding for better insulation offers a smart way to upgrade your home’s energy efficiency and curb appeal. This isn’t just about slapping on new siding; it’s about investing in a system that actively improves your home’s thermal performance, leading to lower energy bills and a more comfortable living environment. We’ll explore the different types of insulated siding, their installation, maintenance, and the overall cost-benefit analysis to help you decide if it’s the right choice for your home.
From the various materials available, like vinyl, fiber cement, and foam, to the detailed installation process and long-term cost savings, we’ll cover everything you need to know. Understanding the energy efficiency benefits and environmental impact will also be key in making an informed decision. We’ll also delve into the aesthetic aspects, showing how insulated siding can enhance your home’s exterior design.

Types of Insulated Siding
Choosing the right insulated siding can significantly impact your home’s energy efficiency, curb appeal, and long-term maintenance. Several materials offer varying levels of insulation, durability, and aesthetic options. Understanding the differences between these options is crucial for making an informed decision.
Insulated Siding Material Comparison
Different insulated siding materials offer distinct advantages and disadvantages. The best choice depends on your budget, desired aesthetic, and climate. The following table summarizes key characteristics:
| Material | R-Value (per inch) | Cost (per square foot) | Lifespan (years) | Maintenance |
|---|---|---|---|---|
| Vinyl | ~0.9-1.1 (depending on thickness and foam core) | $3-$8 | 20-50 | Low; occasional cleaning |
| Fiber Cement | Typically not insulated; requires separate insulation | $6-$15 | 50-80 | Moderate; periodic painting and cleaning |
| Foam (Polyurethane, Polyisocyanurate) | ~4-7 (depending on type and thickness) | $8-$15 | 25-50 | Low; occasional cleaning |
*Note: R-values and costs are estimates and can vary based on specific product features, location, and labor costs. Lifespans are estimates and can be affected by environmental factors and maintenance practices.*
Insulated Siding Installation Methods
Installation methods vary depending on the siding material. Proper installation is essential for achieving optimal energy efficiency and longevity.
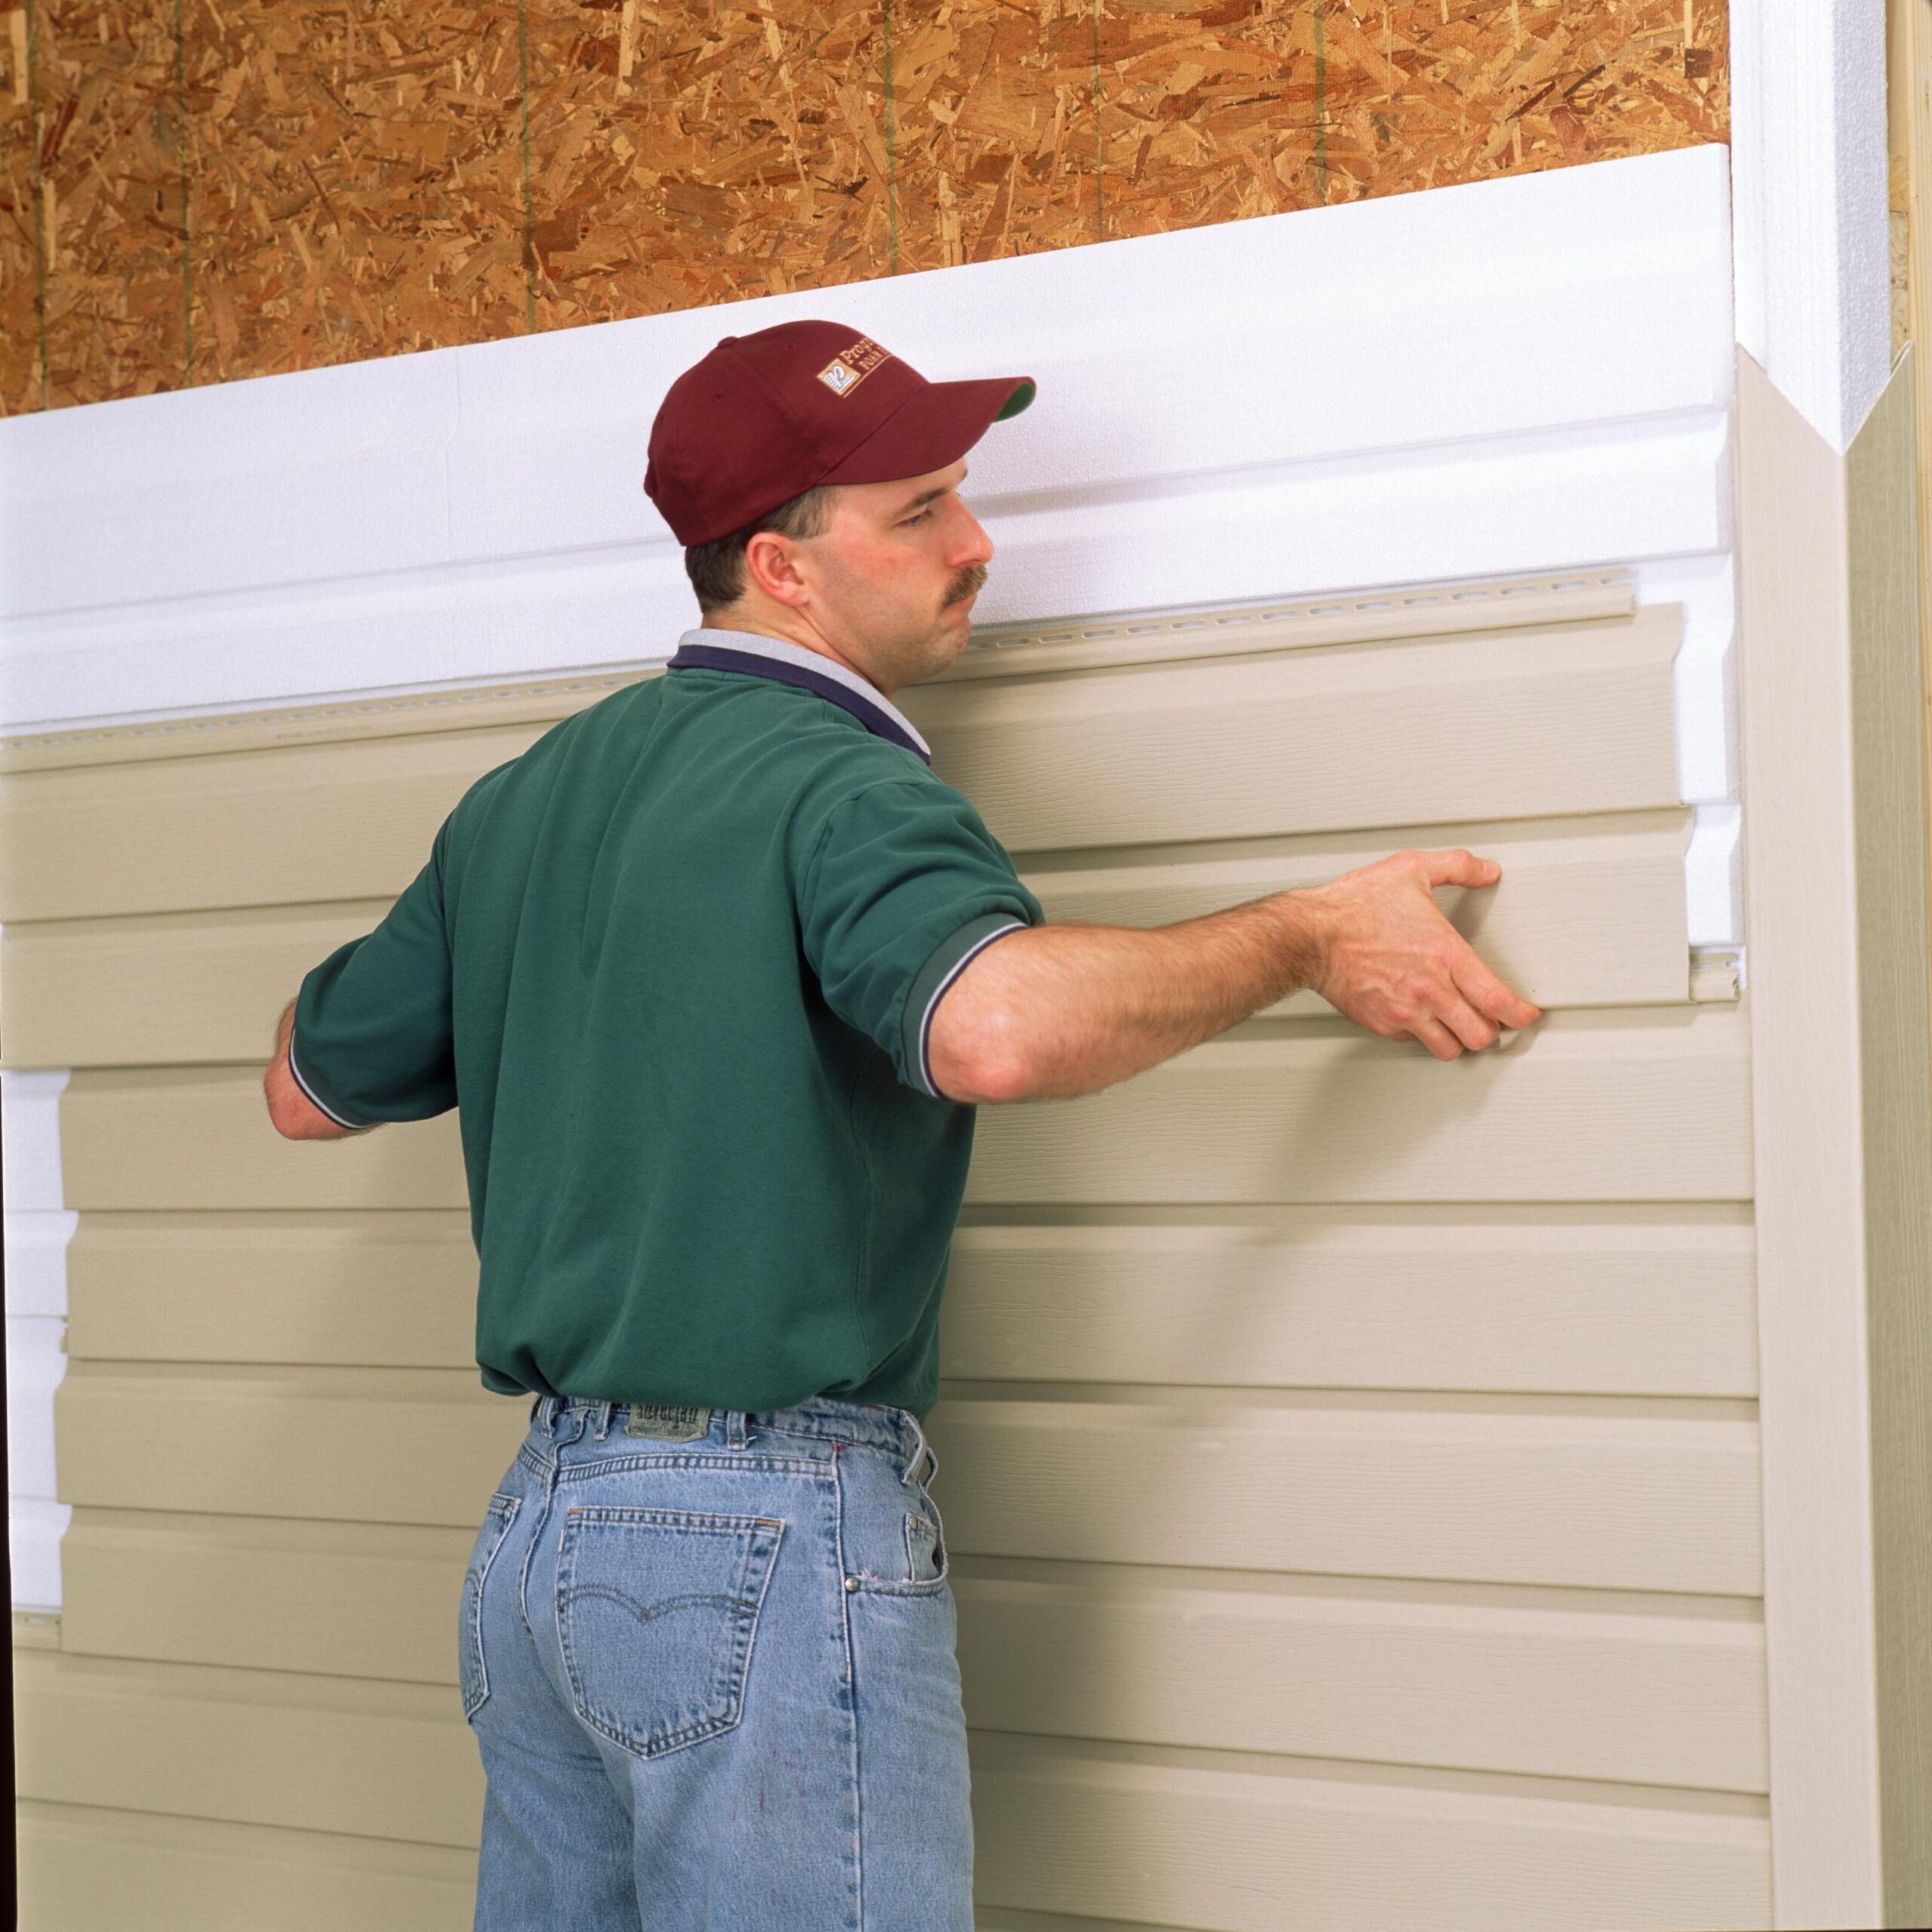
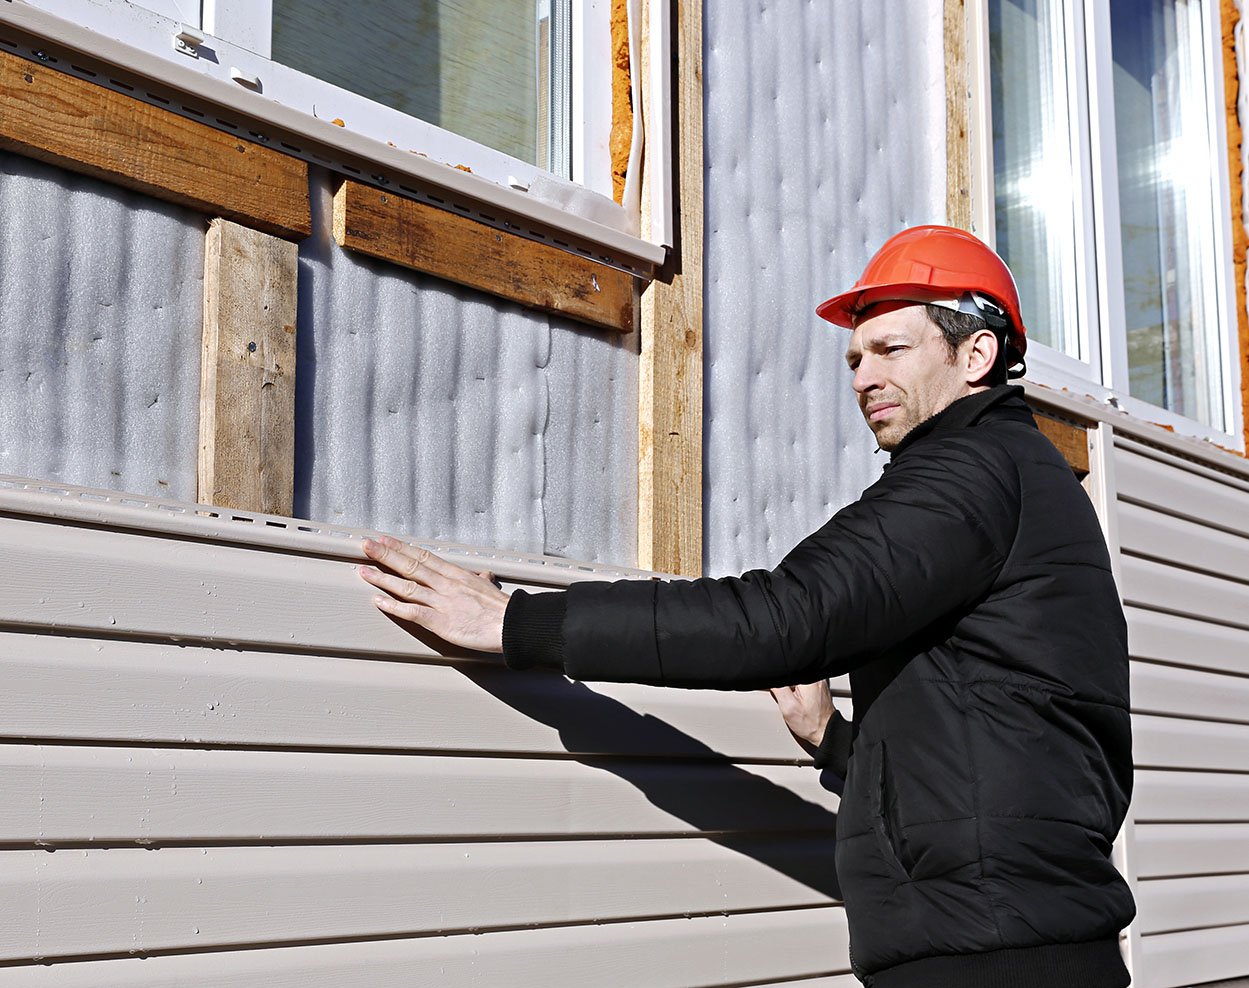
Vinyl insulated siding is typically installed over existing sheathing, often using a nailing system that allows for expansion and contraction. This process involves attaching the siding panels horizontally to furring strips, ensuring proper spacing for ventilation. Foam insulated siding often involves adhering panels directly to the existing wall surface with specialized adhesive and mechanical fasteners for additional security. Fiber cement siding, while not inherently insulated, frequently necessitates installing rigid foam insulation boards before attaching the siding panels using nails or screws. This process often involves more complex framing and weather barrier considerations.
Architectural Styles and Siding Suitability
The choice of insulated siding can complement various architectural styles.
Vinyl siding’s versatility makes it suitable for a wide range of styles, from traditional to contemporary homes. Its affordability and ease of maintenance make it a popular choice for many homeowners. Fiber cement siding, with its ability to mimic the look of wood or stone, is well-suited for homes with Craftsman, Farmhouse, or Victorian architectural styles. Its durability and low-maintenance characteristics make it a desirable option for high-end homes or those in harsh climates. Foam insulated siding, while often less visible, is an excellent choice for homes aiming for maximum energy efficiency and can be used in conjunction with other siding types, adding an extra layer of insulation without significantly altering the aesthetic. For example, it might be used under vinyl or fiber cement siding on a modern home to achieve high performance energy ratings.
Energy Efficiency Benefits
Insulated siding significantly improves a home’s energy efficiency by creating a thermal barrier that reduces heat transfer between the interior and exterior environments. This means less energy is needed to heat your home in winter and cool it in summer, leading to substantial cost savings and a smaller carbon footprint. The effectiveness of this barrier depends on the type of insulation used and the overall quality of the installation.
Insulated siding’s impact on energy consumption is directly related to its R-value, a measure of thermal resistance. Higher R-values indicate better insulation. For example, a home with insulated siding boasting an R-value of 15 might experience a 15-20% reduction in heating and cooling costs compared to a home with standard siding. This reduction translates to fewer kilowatt-hours (kWh) consumed annually. The precise energy savings will vary depending on factors like climate, home size, and existing insulation levels.
Energy Bill Comparison: A Hypothetical Scenario
Let’s consider a typical 2,000 square foot home in a region with moderate winters and hot summers. Assume the average annual energy bill for heating and cooling without insulated siding is $2,400. After installing insulated siding with an R-value of 15, let’s estimate a 15% reduction in energy consumption. This translates to savings of $360 annually ($2400 x 0.15 = $360). The new annual energy bill would be approximately $2,040. While this is a hypothetical example, it illustrates the potential savings achievable through improved insulation. Actual savings will vary based on specific conditions.
Long-Term Cost Savings
The long-term cost savings associated with insulated siding extend beyond the immediate reduction in energy bills. Over a 20-year period, the $360 annual savings from our hypothetical scenario accumulate to $7,200. This significant sum can far outweigh the initial investment in insulated siding. Furthermore, the improved energy efficiency contributes to the longevity of your HVAC system by reducing strain, potentially delaying expensive repairs or replacements. This indirect cost saving is a considerable added benefit that isn’t always immediately apparent. For instance, delaying an HVAC replacement by even 5 years can save thousands of dollars, depending on the system’s cost.
Installation Process and Considerations
Installing insulated siding is a significant home improvement project that, while achievable for DIYers with some construction experience, often benefits from professional expertise. Proper installation ensures optimal energy efficiency and longevity of the siding. This section details the process, potential challenges, and crucial considerations.
Step-by-Step Installation Guide
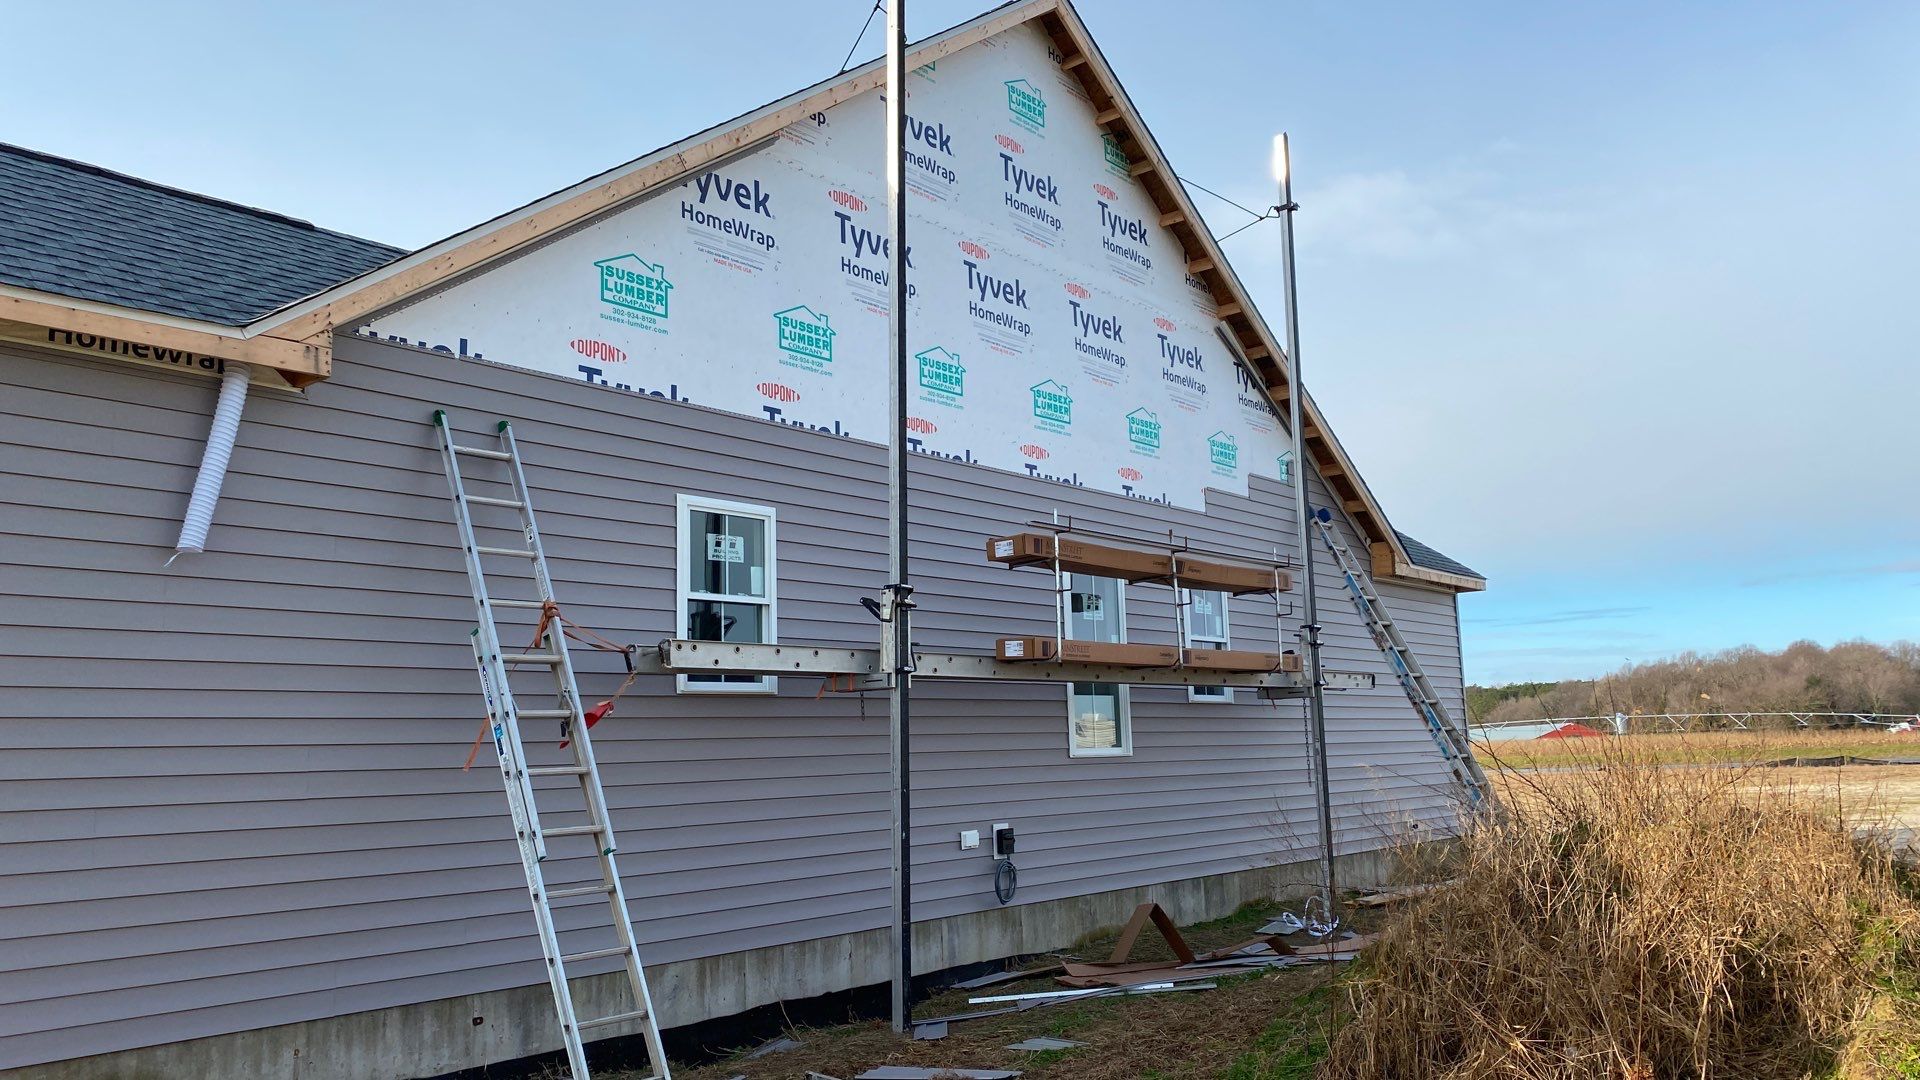
Careful preparation is key to a successful installation. This includes accurate measurements, material acquisition, and proper surface preparation of the existing wall. Rushing this stage often leads to problems later.
- Preparation: Begin by thoroughly cleaning the existing wall surface. Remove any loose paint, debris, or old siding. Repair any damaged areas of the underlying sheathing or wall structure. This ensures a smooth and even surface for the new siding. Accurate measurements are crucial for ordering the correct amount of materials. Consider adding extra for cuts and potential mistakes.
- Installation: Start at a corner of the house and work your way across. Follow the manufacturer’s instructions precisely for fastening and overlapping panels. Use appropriate fasteners for the type of siding and underlying wall material. Maintaining consistent spacing and alignment is crucial for a professional finish. Work from bottom to top, ensuring each panel is securely fastened and aligned with the previous one.
- Finishing: Once all siding panels are installed, install trim and finishing pieces around windows, doors, and corners. Caulk any gaps or seams to prevent air leakage and moisture penetration. A final inspection should be performed to check for any loose panels, gaps, or alignment issues.
Potential Installation Challenges and Solutions
Several challenges can arise during insulated siding installation. Addressing them proactively minimizes issues and ensures a successful project.
- Uneven Wall Surfaces: Uneven walls can make it difficult to install siding panels straight and flush. Solution: Before installation, address any significant wall irregularities by using shims or furring strips to create a level surface. This ensures the siding sits correctly and avoids gaps or unevenness.
- Difficult Weather Conditions: Extreme heat, cold, or rain can significantly impact the installation process and the quality of the finished product. Solution: Schedule installation during favorable weather conditions. Protect the installed siding from rain or excessive sun exposure during and immediately after installation.
- Improper Fastening: Using incorrect fasteners or improper fastening techniques can lead to loose panels, damage to the siding, and compromised insulation. Solution: Always use the fasteners recommended by the siding manufacturer. Ensure fasteners are driven straight and at the proper depth to avoid damage to the siding.
Importance of Underlayment and Vapor Barriers
Proper underlayment and vapor barriers are essential for preventing moisture damage and maintaining the energy efficiency of the insulated siding system.
Underlayment provides a protective layer between the wall and the siding, protecting the insulation from moisture and providing additional protection against wind. A properly installed vapor barrier prevents moisture from migrating from the interior of the house into the wall assembly, which could lead to mold and mildew growth and reduce the effectiveness of the insulation. The vapor barrier should be installed correctly, overlapping seams and sealing any gaps or penetrations. Failure to do so can negate the benefits of the insulation and lead to costly repairs.
Maintenance and Lifespan
Insulated siding, while durable, requires regular maintenance to ensure its longevity and continued energy efficiency. Neglecting maintenance can lead to premature damage, reduced insulation effectiveness, and costly repairs. The type of siding significantly influences the maintenance schedule and necessary procedures.
Proper maintenance practices significantly extend the lifespan of insulated siding, often adding years to its useful life and maximizing your return on investment. A well-maintained system can easily last for 30 years or more, while neglected siding might require replacement within a much shorter timeframe.
Routine Maintenance for Different Insulated Siding Types
The frequency and specifics of maintenance vary depending on the material. For example, vinyl siding requires less intensive care than fiber cement. Consistent upkeep prevents minor problems from escalating into major, expensive repairs.
- Vinyl Siding: Requires regular cleaning with a mild detergent and water solution. Inspect for cracks or damage, and address these promptly. Avoid abrasive cleaners or harsh chemicals.
- Fiber Cement Siding: Needs periodic cleaning, similar to vinyl, but may require more attention to sealant around seams and joints. Inspect for cracks or chips and repair as needed. This material is more durable than vinyl but still requires care.
- Metal Siding: Generally low-maintenance, but periodic inspection for rust or dents is crucial, especially in coastal or high-humidity areas. Clean with a mild detergent and water solution. Address any signs of corrosion immediately.
- Foam-backed Siding: Pay close attention to the seams and edges, ensuring proper sealing to maintain insulation effectiveness. Clean gently to avoid damaging the foam backing. Inspect regularly for any signs of moisture penetration.
Addressing Common Issues
Common problems with insulated siding include damage from impact, moisture penetration, and fading. Prompt action is key to preventing minor issues from becoming major repair jobs.
- Damage Repair: Small dents or scratches on vinyl or metal siding can often be repaired with touch-up paint. Larger holes or cracks may require professional repair or section replacement. For fiber cement, repairs often involve patching and repainting.
- Cleaning: Regular cleaning removes dirt, grime, and mildew, preventing damage and preserving the siding’s appearance. Pressure washing can be effective but should be done carefully to avoid damaging the siding. Always test in an inconspicuous area first.
- Moisture Issues: Addressing moisture penetration promptly is critical. This often involves repairing damaged caulking or replacing damaged sections of siding. Improper flashing around windows and doors can lead to moisture problems, so these areas require regular inspection.
Examples of Lifespan Extension Through Maintenance
A homeowner who diligently cleans their vinyl siding annually and addresses minor damage promptly can expect a lifespan exceeding 30 years. In contrast, a homeowner who neglects cleaning and allows damage to accumulate might see their siding degrade significantly within 15 years, necessitating early replacement. Regular inspection and proactive maintenance are key to extending the useful life of any insulated siding system. For example, a proactive approach to caulking and sealing around windows and doors in a house with foam-backed siding can prevent water damage and extend its lifespan by 10-15 years.
Cost-Benefit Analysis
Investing in insulated siding is a significant home improvement project, but the potential long-term savings can make it a worthwhile endeavor. A thorough cost-benefit analysis is crucial to determine if it’s the right choice for your specific circumstances. This analysis considers the initial investment against the anticipated reduction in energy bills over the siding’s lifespan.
Initial costs encompass various factors that can significantly influence the overall expense. Understanding these factors allows for a more accurate projection of the total investment required.
Initial Costs of Insulated Siding
The upfront cost of insulated siding includes material costs, labor costs, and any necessary permits. Material costs vary depending on the type of siding chosen (e.g., vinyl, fiber cement, foam-backed), its thickness, and the size of your home’s exterior. Labor costs depend on the complexity of the installation, the size of your home, and regional labor rates. Permitting fees vary by location and may be influenced by local building codes and regulations. For a 2,000 square foot home, a rough estimate for material costs might range from $10,000 to $25,000, while labor costs could add another $5,000 to $15,000. Permitting fees could add a few hundred to a thousand dollars depending on location. These figures are estimates and should be considered as a starting point for a more detailed quote from a qualified contractor.
Long-Term Energy Savings
The primary benefit of insulated siding is its ability to significantly reduce energy consumption. By improving the home’s insulation, less energy is needed to heat or cool the interior, leading to lower utility bills. The magnitude of these savings depends on factors like climate, existing insulation levels, and the type of insulated siding installed. For example, a homeowner in a cold climate might see a reduction in heating costs by 15-25% annually, while a homeowner in a hot climate might see similar savings in cooling costs. Let’s consider a hypothetical scenario: a homeowner with an average annual energy bill of $3,000 might see a reduction of $450 to $750 annually with insulated siding.
Return on Investment (ROI)
Calculating the ROI for insulated siding involves comparing the initial investment to the cumulative energy savings over its lifespan. The lifespan of insulated siding typically ranges from 20 to 50 years, depending on the material and maintenance. Using the hypothetical scenario above, with an initial investment of $15,000 and annual savings of $600, the homeowner would recoup their investment in approximately 25 years ( $15,000 / $600 = 25 years). However, this is a simplified calculation and doesn’t account for potential increases in energy costs over time, which could significantly improve the ROI. Additionally, increased home value due to the improvement can also contribute to a positive ROI. A professional energy audit can provide a more precise estimate of potential energy savings specific to your home and climate.
Environmental Impact
Insulated siding offers significant environmental advantages, primarily through its contribution to reduced energy consumption and a smaller carbon footprint. By improving a building’s thermal performance, it lessens the reliance on heating and cooling systems, leading to decreased greenhouse gas emissions. The choice of siding material also plays a crucial role in the overall environmental impact.
Choosing insulated siding can lead to substantial reductions in energy usage and subsequently, a smaller carbon footprint. Homes with improved insulation require less energy to maintain a comfortable indoor temperature, translating directly to lower utility bills and reduced reliance on fossil fuel-based energy sources. This decrease in energy consumption contributes to a smaller carbon footprint, mitigating the effects of climate change.
Comparison of Environmental Impacts of Different Insulated Siding Materials
The environmental impact varies considerably depending on the material used in the insulated siding. For example, fiber cement siding, while durable and low-maintenance, often has a higher embodied carbon footprint due to the energy-intensive manufacturing process. On the other hand, vinyl siding, though readily recyclable in some areas, is a petroleum-based product with its own environmental concerns related to its production and disposal. Recycled plastic or wood fiber composite sidings offer more sustainable options, reducing reliance on virgin materials. A life-cycle assessment comparing the manufacturing, use, and disposal phases for each material would provide a complete picture. For instance, a study might compare the embodied carbon of a fiber cement product versus a recycled plastic composite over a 50-year lifespan, accounting for energy used in manufacturing, transportation, and end-of-life management.
Sustainability Aspects of Insulated Siding Manufacturing and Disposal
Sustainable manufacturing practices are key to minimizing the environmental impact of insulated siding. This includes using recycled materials, employing energy-efficient production processes, and reducing waste generation. The use of sustainably harvested wood in composite sidings, for example, helps to lessen deforestation and promote responsible forestry. Furthermore, the recyclability or ease of disposal of the siding at the end of its lifespan is a crucial factor in its overall environmental profile. Some manufacturers offer take-back programs for their products, facilitating proper recycling or disposal methods. Local regulations regarding construction waste disposal should also be considered; some regions have stricter rules for disposing of certain materials, influencing the overall sustainability of a project. For example, a municipality might offer incentives for recycling specific types of siding, encouraging builders to choose environmentally friendly options.
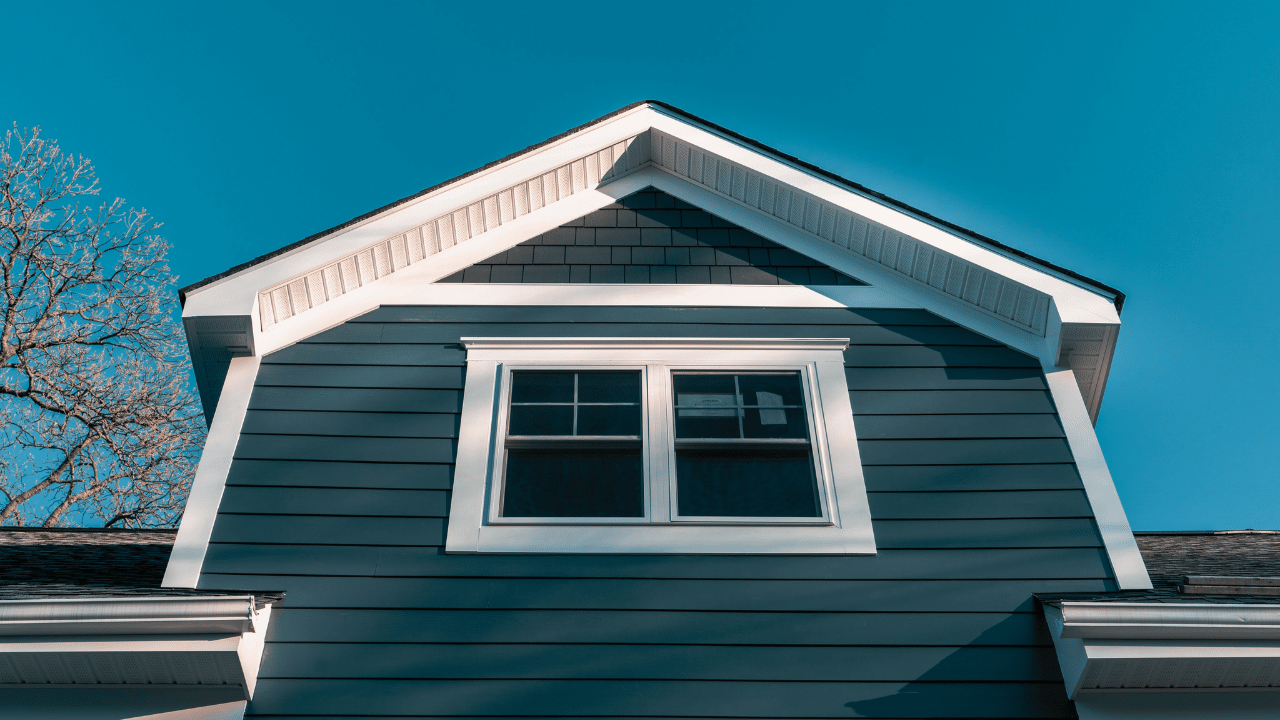
Visual Appeal and Design Options
Insulated siding offers a surprisingly wide array of aesthetic choices, moving beyond the purely functional to significantly enhance a home’s curb appeal and overall visual impact. The ability to customize both color and texture allows for seamless integration with existing architectural styles or a bold statement of modern design.
Insulated siding’s visual impact stems from its ability to present a clean, uniform finish, free from the visible seams and imperfections often associated with traditional siding materials. This consistent surface allows for a greater emphasis on color and texture, providing homeowners with numerous opportunities for personalization.
Color and Texture Variety
The range of colors available in insulated siding is extensive, encompassing a spectrum from classic neutrals to vibrant hues. The textures also offer considerable variety, mimicking the look of natural materials like wood or stone, while providing the superior durability and energy efficiency of insulated siding.
- Colors: Options range from traditional earth tones like beige, brown, and gray, to bolder choices such as deep reds, blues, and greens. Many manufacturers offer custom color matching services to perfectly complement existing home features or landscaping.
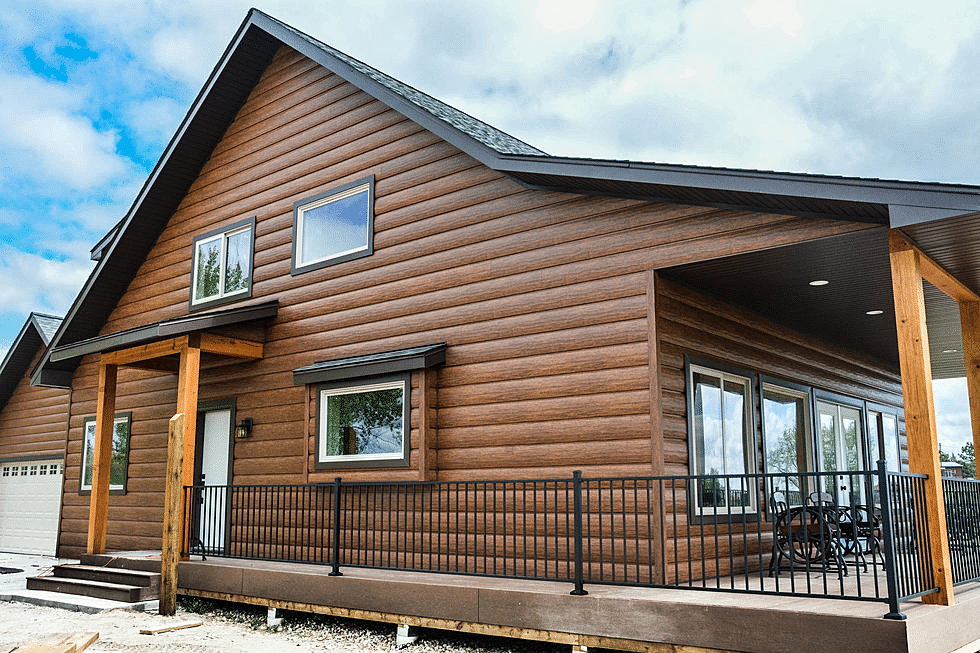
- Textures: Common textures include smooth finishes, wood grain patterns (offering a realistic wood-like appearance without the maintenance), and stone-like finishes providing a rugged and sophisticated look. Some manufacturers even offer textured finishes designed to mimic stucco or other architectural elements.
- Styles: Siding styles can vary significantly, from traditional lap siding to more contemporary board-and-batten or vertical styles. This allows for customization to fit diverse architectural designs and homeowner preferences.
Enhancing Curb Appeal
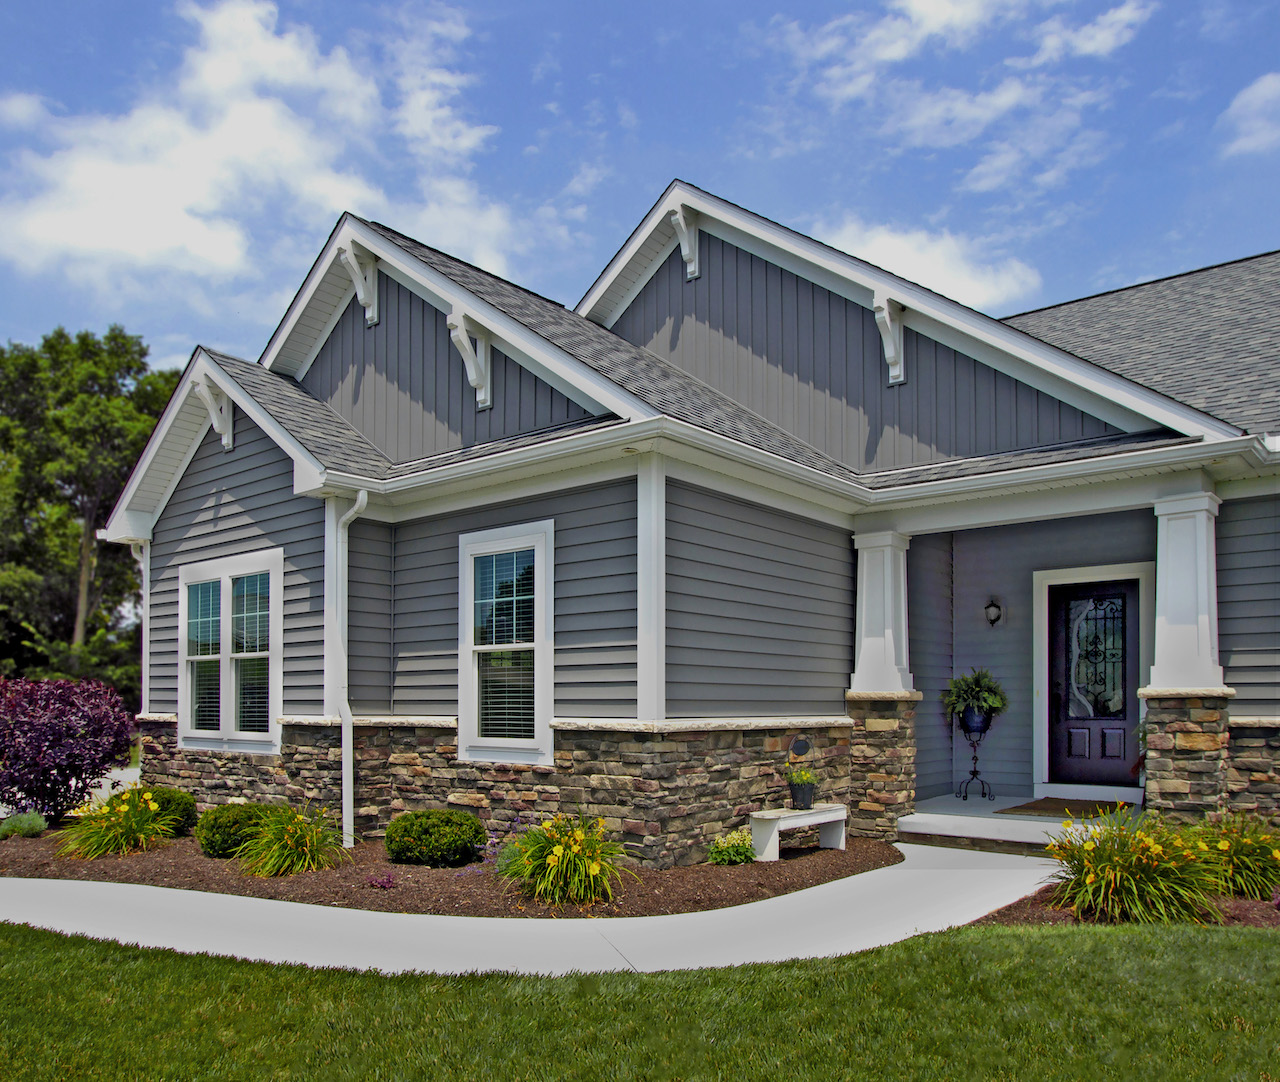
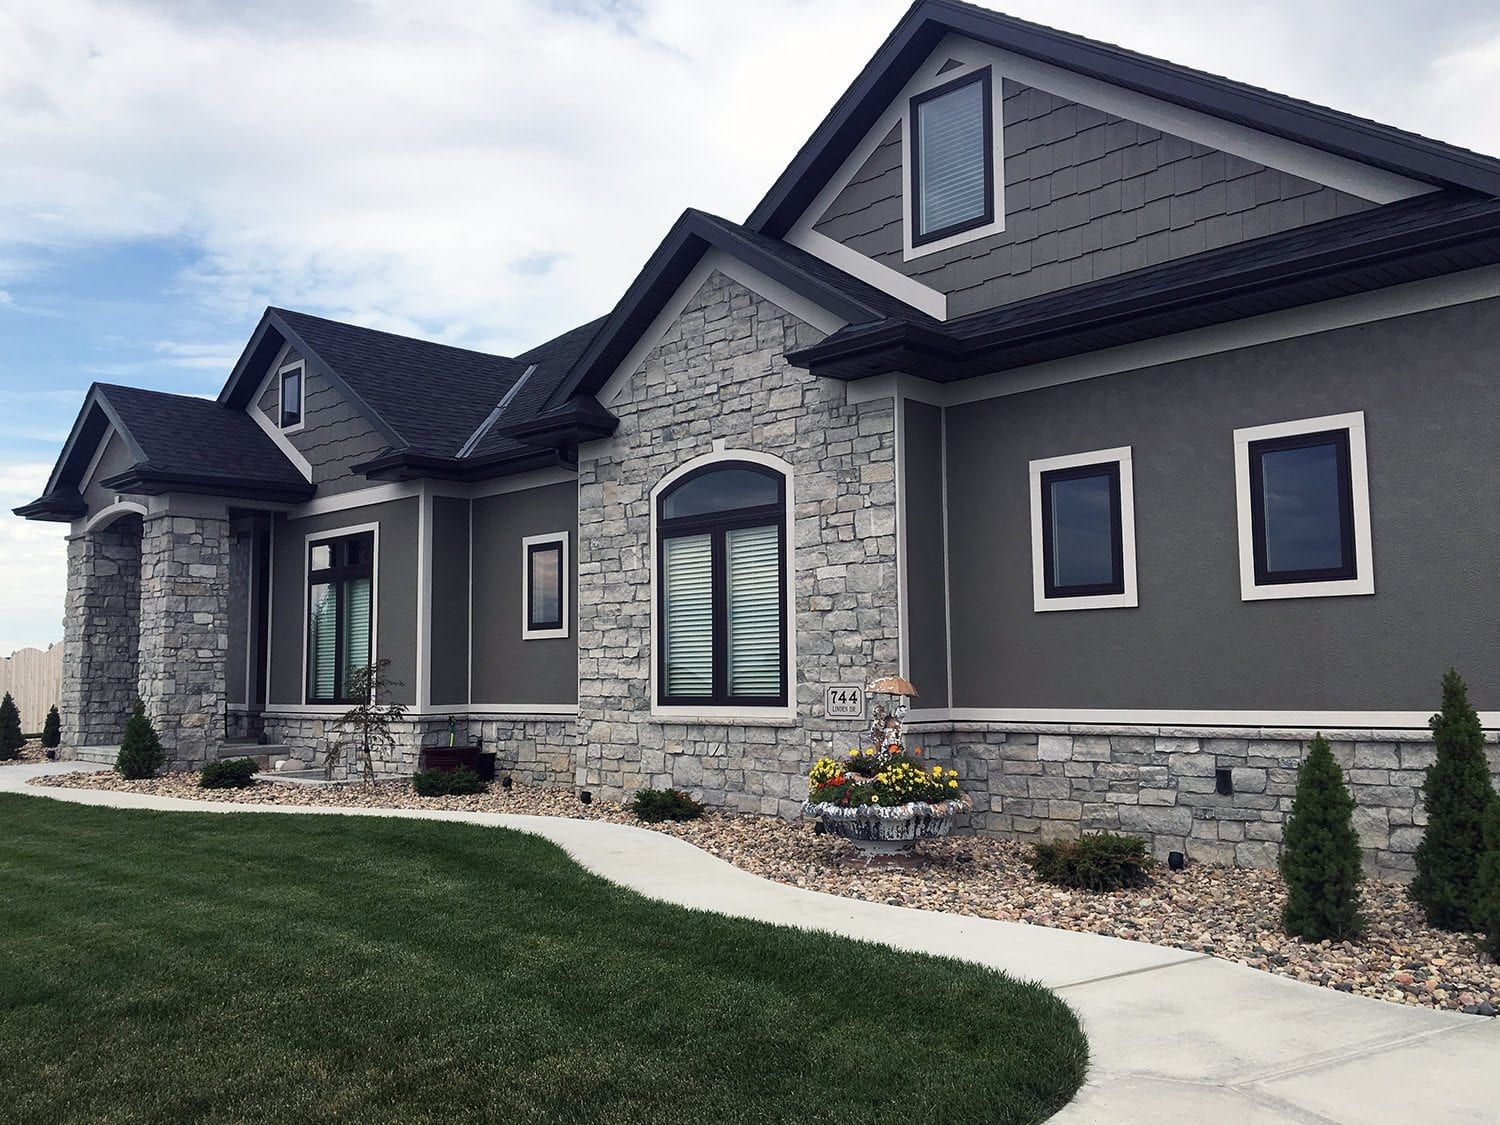
Insulated siding dramatically improves a home’s curb appeal by providing a fresh, updated look. The clean lines and uniform finish create a sense of modern sophistication, while the variety of colors and textures allow homeowners to personalize their home’s exterior to reflect their individual style. A well-chosen color can brighten a home, while a textured finish can add depth and visual interest. The overall effect is a more inviting and aesthetically pleasing home that increases property value. For example, replacing outdated, weathered vinyl siding with a modern, dark gray insulated siding with a wood-grain texture can significantly transform the look of a home, creating a more luxurious and contemporary aesthetic.
Integration with Architectural Designs
The versatility of insulated siding allows for seamless integration into a wide range of architectural styles. Its ability to mimic the appearance of various materials, combined with its diverse color and texture options, makes it suitable for both traditional and contemporary homes.
- Traditional Homes: For homes with a classic or colonial design, insulated siding in earth tones with a subtle wood grain texture can maintain the home’s traditional character while improving energy efficiency. For instance, a light beige or taupe color with a subtle wood grain pattern would complement a colonial-style home.
- Modern Homes: Modern homes often benefit from clean lines and bold colors. Insulated siding in a sleek, dark gray or charcoal color with a smooth finish can enhance the modern aesthetic, while a vibrant accent color can add a pop of personality. A dark gray insulated siding with a smooth finish could be a stylish choice for a contemporary home.
- Ranch Homes: Ranch-style homes often feature horizontal lines. Horizontal lap siding in a warm, earthy tone can emphasize these lines and create a cohesive look. A light brown or beige with a wood-grain texture would complement a ranch style home.
Concluding Remarks
Ultimately, the decision to install insulated siding hinges on a careful consideration of your budget, energy consumption goals, and aesthetic preferences. While the initial investment might seem significant, the long-term savings in energy costs and the enhanced comfort and value it brings to your home make it a worthwhile investment for many homeowners. By understanding the different types, installation processes, and maintenance requirements, you can confidently choose the best insulated siding to transform your home into a more energy-efficient and visually appealing space.